Ingredients
Equipment
Method
- Line your 20x20 cm (8x8 inch) pan with parchment paper to make removal easier later.
- In a microwave-safe bowl or using a double boiler, gently melt the dark chocolate along with 2 tablespoons of coconut oil, stirring until smooth and glossy. This should take about 2-3 minutes in the microwave, stirring every 30 seconds, or slowly melting over low heat on the stove.
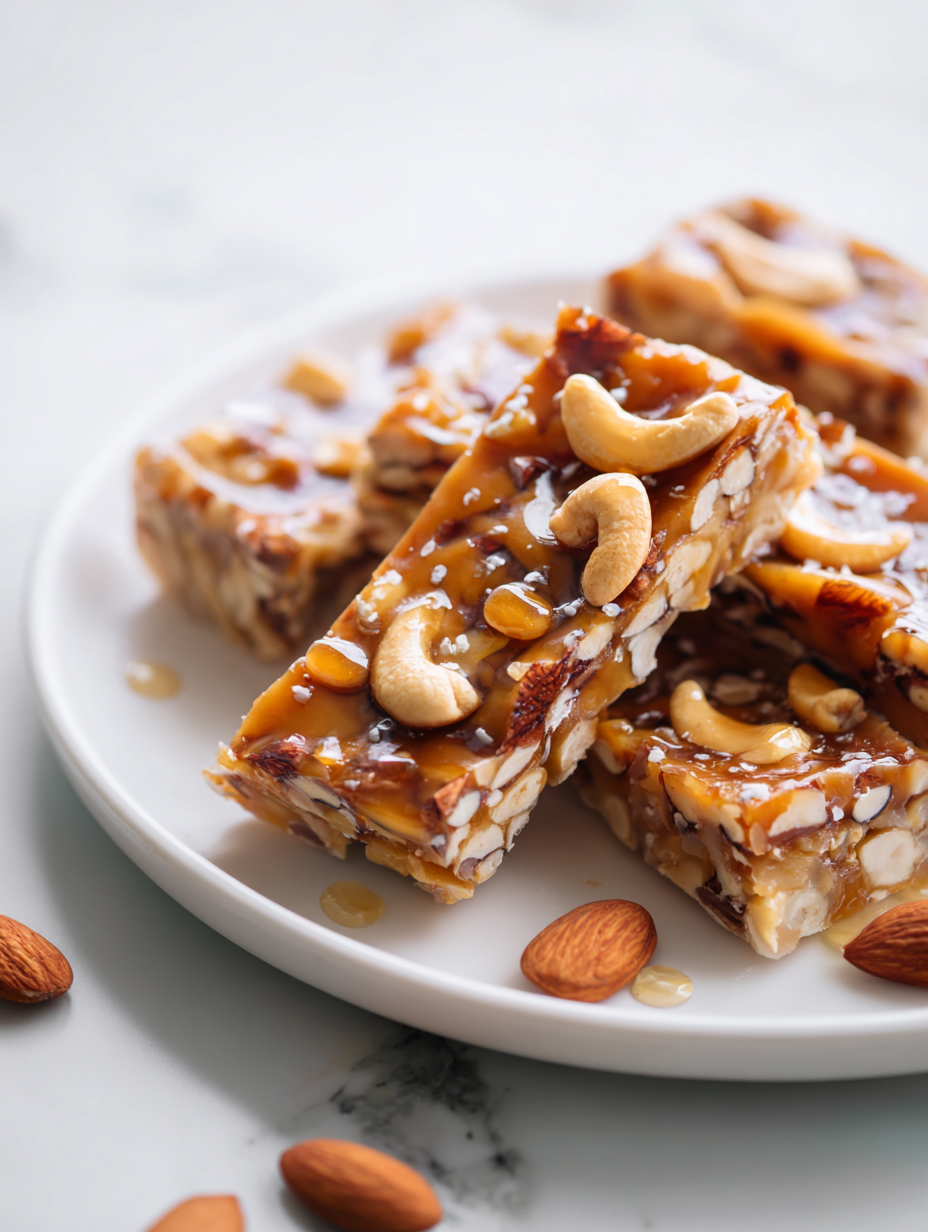
- In a large mixing bowl, combine the chopped mixed nuts and chopped Medjool dates. Add the honey and vanilla extract, then stir everything together until the mixture is sticky, fragrant, and well coated—this aroma of toasted nuts and sweet dates will fill your kitchen.
- Transfer the nut and date mixture into your prepared pan. Use the back of a spatula or your fingers to press it down firmly and evenly, creating a compact, sturdy base. Pressing it well helps the bars hold their shape when sliced.
- Pour the melted chocolate evenly over the pressed-down mixture. Use a spatula to spread it out smoothly, covering all the ingredients with a glossy layer. Gently tap the pan on the counter to settle the chocolate and remove any air bubbles.
- Sprinkle a tiny pinch of sea salt or smoked sea salt over the top of the chocolate layer to enhance the flavor contrast. Lightly press the salt into the chocolate if needed for better adhesion.
- Place the pan in the refrigerator for at least 2 hours, or until the chocolate is fully set and firm. This chilling step ensures the bars hold together perfectly when sliced.
- Once the chocolate has hardened, lift the slab out of the pan using the parchment paper and place it on a cutting board. Use a sharp knife to cut into 8-10 bars, wiping the blade with a warm damp cloth between cuts for clean, neat slices.
- Let the bars sit at room temperature for about 10 minutes before serving. This softens the chocolate slightly and enhances the aroma of the nuts and cocoa, making each bite irresistible.
Notes
For an extra crunch, toast the nuts lightly before mixing. You can swap honey for maple syrup or agave for a different flavor profile. Store the bars in an airtight container at room temperature for up to 3 days or freeze for longer storage.