
These no bake peanut butter balls are my go-to whenever I need a quick treat that feels like a warm hug from childhood. There’s something about the simple mix of peanut butter, honey, and oats that instantly brings back messy kitchen afternoons and carefree snack times.
I love how fuss-free they are—no oven, no complicated steps, just a handful of ingredients thrown together. Plus, they’re perfect for when I want something sweet but don’t want to spend ages in the kitchen. They’re honest, straightforward, and make the best on-the-go snack or little reward after a busy day.
Focusing on the simplicity and nostalgia of childhood treats, I craft these peanut butter balls as a quick, no-fuss snack that brings back messy kitchen memories and honest comfort.
Nostalgic comfort in every bite
- Making these takes me right back to lazy summer afternoons in my grandma’s kitchen, smelling peanut butter and honey wafting through the air.
- There’s a quiet pride in mixing just a few ingredients and ending up with something so satisfyingly sticky and sweet.
- Honestly, these are my emergency treat—when I need a quick pick-me-up or a handful of something familiar and honest.
- I love how versatile they are—sometimes I toss in chocolate chips or a pinch of sea salt, and it feels like a little recipe of my own.
- Every time I make these, I’m reminded how simple ingredients can create real comfort, no oven needed.
The story behind this recipe
- This recipe was born out of those chaotic mornings when I needed something sweet, fast, and satisfying, but didn’t want to turn on the oven. I remember rummaging through my pantry, grabbing peanut butter, oats, and a bit of honey, just throwing them together without much thought. That spontaneous mix turned into a little no-fuss treat I keep coming back to.
- There’s something about the simplicity that feels honest—no fancy ingredients, no fuss, just good, familiar flavors that remind me of childhood afternoons spent sneaking bites from the jar. It’s become a go-to for quick snacks, for sharing with friends, and even for those moments I need a small, no-pressure baking fix.
- heading
- story_type
Historical & Cultural Tidbits
- These peanut butter balls are inspired by classic no-bake energy bites from the 1970s health food movement, but with a nostalgic twist.
- They gained popularity in home kitchens during the 1950s when quick, no-fuss desserts became a household staple due to busy lifestyles.
- In some regions, these treats are called by different names—like peanut butter haystacks or no-bake peanut butter cookies—each with subtle ingredient tweaks.
- The simplicity of mixing oats and peanut butter has roots in resourcefulness, turning pantry staples into comforting, homemade snacks.
- They remain a favorite because they require no oven, making them accessible even during heatwaves or busy weekday afternoons.
Key ingredients and tips
- Peanut Butter: I use creamy, natural peanut butter for a smooth texture that melts easily. If yours is too thick, warm it slightly to loosen it up before mixing.
- Honey: It adds sweetness and helps everything stick together. If you prefer a less sweet version, reduce the honey by a teaspoon or two, but expect a slightly less sticky result.
- Rolled Oats: I opt for old-fashioned oats—they give the right chewy bite. For a softer, more tender ball, pulse them briefly in a food processor.
- Chocolate Chips (optional): I love adding mini chocolate chips—they melt just enough for pockets of gooey chocolate. Skip or substitute with chopped nuts for crunch.
- Sea Salt: A tiny pinch enhances the peanut butter’s richness and balances the sweetness. Feel free to sprinkle a little more if you love that contrast.
- Coconut Flakes (optional): Toasted coconut adds a smoky sweetness and chewy texture. Use untoasted for a milder flavor or omit if you prefer nut-only bites.
- Vanilla Extract: Just a splash brightens the flavor and adds a subtle depth. If you don’t have vanilla, a pinch of cinnamon can add warmth instead.
Spotlight on key ingredients
Peanut Butter:
- I lean towards creamy, natural peanut butter for a smooth, melt-in-your-mouth texture. If yours is too thick, warm it slightly to loosen it up before mixing.
- Honey: It’s the glue that keeps everything together with a hint of floral sweetness. If you want less sweetness, cut back a bit, but expect slightly less stickiness.
Rolled Oats:
- Old-fashioned oats give the perfect chewy bite and hold their shape well. Pulsing them briefly in a food processor makes for a softer, more tender bite if you prefer.
- Chocolate Chips (optional): Mini chips melt just enough for pockets of gooey chocolate. Skip them or substitute with chopped nuts for extra crunch.
Notes for ingredient swaps
- Dairy-Free: Almond or coconut butter can replace peanut butter, but expect a lighter, less rich flavor.
- Sweetener: Maple syrup or agave nectar can swap honey for a different sweetness profile, slightly changing the stickiness.
- Oats: Use quick oats if you’re in a pinch—just note they’ll create a slightly softer, less chewy ball.
- Chocolate: Dark chocolate chips or cacao nibs work well; for a dairy-free option, try carob chips for a different flavor punch.
- Add-ins: Chopped nuts or dried fruit can customize your bites; they add crunch and chew, so choose your favorites.
- Flavor Boost: A dash of cinnamon or a splash of vanilla can deepen the flavor without altering the texture.
- Binding Agent: Coconut flour or ground flaxseed mixed with water can help if your mixture feels too loose, though it may change the flavor slightly.
Equipment & Tools
- Mixing bowl: For combining all ingredients easily.
- Spatula: To stir and fold ingredients smoothly.
- Baking sheet: To hold the formed balls as they chill.
- Parchment paper: Prevent sticking and make cleanup easier.
Step-by-step guide to peanut butter balls
- Gather your equipment: a mixing bowl, a spatula, a baking sheet, and parchment paper. The bowl is for mixing, spatula for stirring, sheet for setting, parchment to prevent sticking.
- In the mixing bowl, combine 1 cup of creamy peanut butter and 1/4 cup of honey. Stir until smooth and well blended, about 2 minutes. The mixture should be sticky but manageable.
- Add 2 cups of rolled oats and optional ingredients like 1/4 cup mini chocolate chips or a pinch of sea salt. Mix thoroughly until everything is evenly incorporated, about 3 minutes. If the mixture feels too dry, add a teaspoon of honey or peanut butter. If too sticky, sprinkle a little more oats.
- Scoop about 1 tablespoon of mixture and roll between your palms into a ball. Place each ball on the prepared parchment-lined baking sheet. Repeat until all mixture is used, about 15-20 balls.
- Once all balls are formed, refrigerate uncovered for at least 30 minutes. This helps them firm up and hold their shape better. If in a hurry, freeze for 10-15 minutes.
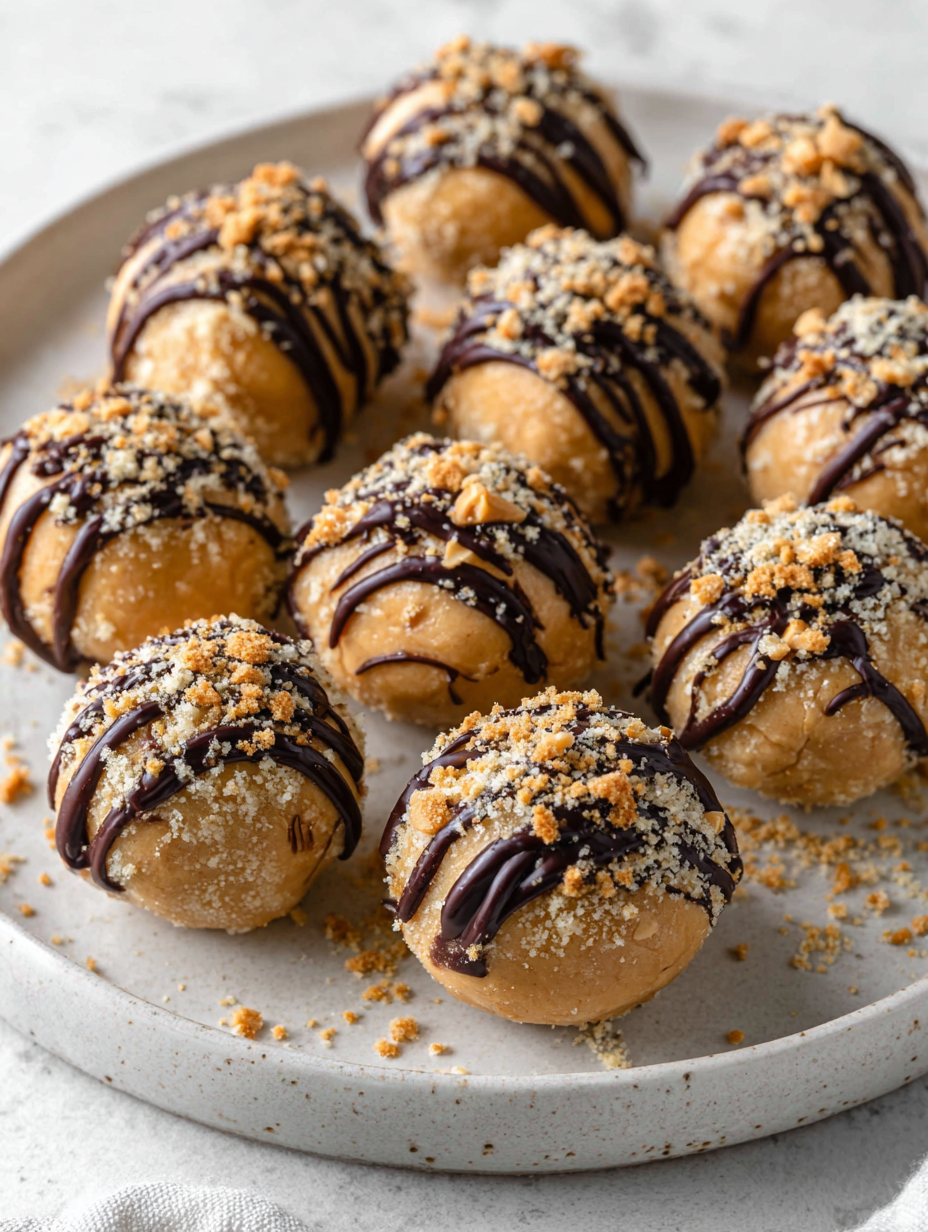
- Optional: Dip the chilled balls in melted chocolate or roll in crushed nuts for extra flavor. Return to fridge for 10 minutes to set if dipped in chocolate.
- Finish by plating the peanut butter balls on a nice tray or storing in an airtight container. They’re best enjoyed after chilling for at least an hour for full flavor and firm texture.
Chill the peanut butter balls in the fridge for at least 30 minutes to set. Serve directly from fridge for best texture and flavor. Keep stored in an airtight container for up to a week.
How to Know It’s Done
- Balls are firm and hold shape without cracking when pressed lightly.
- No excess moisture; mixture sticks together but isn’t overly sticky to handle.
- On refrigeration, balls become slightly harder but retain a chewy center.
No-Bake Peanut Butter Balls
Ingredients
Equipment
Method
- Place a sheet of parchment paper on your baking sheet to prevent sticking.
- In a large mixing bowl, combine the creamy peanut butter and honey. Stir them together until the mixture is smooth, shiny, and well blended. You should be able to smell a sweet, nutty aroma.
- Add the rolled oats to your bowl and fold them into the wet mixture until evenly coated. The mixture will start to come together and look sticky and slightly thick.
- If using, sprinkle the mini chocolate chips and a pinch of sea salt over the mixture. Gently fold them in, distributing evenly.
- Using a small cookie scoop or your hands, portion out about 1 tablespoon of mixture and roll it between your palms to form a smooth, round ball. Place each ball on the prepared parchment paper.
- Repeat with the remaining mixture, spacing the balls evenly on the baking sheet. Once all are formed, place the sheet in the fridge and chill for at least 30 minutes, allowing the balls to firm up.
- After chilling, the peanut butter balls will be firm yet chewy. Serve them directly from the fridge or let them sit at room temperature for a few minutes for a softer bite. Enjoy these nostalgic, no-fuss treats anytime!
Notes
Top tips for perfect peanut butter balls
- Chill thoroughly: Cold mixture is easier to roll and keeps the balls firm longer.
- Use a scale: Weigh ingredients for consistent texture, especially with oats and peanut butter.
- Don’t skip the chill: Refrigerate for at least 30 minutes—warm hands melt the peanut butter, making shaping tricky.
- Add chocolate last: Fold in chocolate chips after mixing to prevent melting and clumping.
- Adjust consistency: If mixture is too sticky, add more oats; if too dry, a tiny drizzle of honey or peanut butter helps.
- Roll quickly: Keep mixture cold and work fast to prevent sticking and maintain shape.
- Use parchment: Lining your tray prevents sticking and makes cleanup a breeze.
Common mistakes and how to fix them
- FORGOT to check mixture consistency → Make sure it’s sticky but not runny.
- DUMPED all ingredients at once → Add ingredients gradually for even texture.
- OVER-TORCHED the peanut butter → Use low heat and stir constantly to prevent burning.
- MISSED chilling time → Refrigerate for at least 30 minutes for firm, shapeable balls.
Quick fixes and pantry swaps
- When mixture feels too loose → Splash in a bit more oats or chill longer.
- If balls crack when rolling → Patch with a tiny dab of peanut butter and reshape gently.
- When chocolate isn’t melting evenly → Shield from direct heat, stir constantly, and lower temperature.
- DUMPED too much honey → Rescue by adding more oats or peanut butter to balance moisture.
- If sticky hands make rolling tough → Open a window, splash some cold water on palms, and try again.
Prep, store, and reheat tips
- You can prep the mixture ahead of time—just combine peanut butter, honey, and oats, then refrigerate for up to 24 hours. The flavors meld and the mixture firms up, making it easier to roll later. Expect a slightly thicker, more cohesive texture.
- Store the formed peanut butter balls in an airtight container in the fridge for up to a week. They stay soft but keep their shape well. For longer storage, freeze them for up to a month; thaw in the fridge for a few hours before eating.
- Refrigerated balls develop a firm, chewy texture with a cool, slightly sticky mouthfeel. If you prefer them softer, let them sit at room temperature for 10–15 minutes before serving. They’ll lose a bit of their chill but still taste great.
- To reheat or soften chilled balls, briefly microwave at 10–15 seconds. You’ll notice the peanut butter soften and smell warm, inviting. Be careful not to overheat or they’ll become too greasy or lose shape.
Top questions about peanut butter balls
1. Can I use chunky peanut butter?
Use natural or regular creamy peanut butter for a smooth, rich texture. Chunky works too if you like extra crunch.
2. Can I substitute honey?
Yes, you can swap honey with maple syrup or agave nectar, but expect a slightly different stickiness and sweetness.
3. Can I use quick oats instead?
Absolutely, quick oats work if you’re in a rush—just expect a softer, less chewy bite compared to old-fashioned oats.
4. Can I add chocolate?
Yes, melted chocolate chips or a drizzle of dark chocolate can add richness. For dairy-free, try carob chips.
5. How long do they last?
Store these in an airtight container in the fridge for up to a week or freeze for longer storage. Thaw in the fridge or at room temp.
6. My mixture is too sticky or loose, what do I do?
If mixture feels too loose, add more oats or refrigerate longer. Too sticky? Mix in a bit more peanut butter or oats.
7. How do I fix cracks or sticking?
Chilling helps firm them up. If they crack when rolling, briefly refrigerate or dampen hands with cold water for smoother shaping.
8. Any tips for shaping the balls?
Use a small cookie scoop or your hands to roll into even balls. Keep mixture cold to make shaping easier.
9. How long should I chill them?
Chill the balls for at least 30 minutes for best shape and flavor. Serve straight from the fridge for a firm, chewy bite.
10. My mixture is too dry or wet, what should I do?
If the mixture is too dry, add a tiny bit of honey or peanut butter. If too wet, sprinkle in more oats until manageable.
Making these peanut butter balls is a small act of kitchen rebellion—no oven, no fuss, just honest ingredients coming together. They’re a reminder that sometimes, simplicity and nostalgia are what we need most, especially during busy, chaotic days.
Whenever I reach for one of these, I’m transported back to lazy afternoons and messy kitchen counters. It’s a humble treat that’s quick to make but never loses its comforting, familiar charm.