
Perfect scrambled eggs start with patience and a gentle touch. It’s about coaxing out a silky, custardy texture that feels like a small luxury in every bite. I’ve learned that rushing the process turns fluffy into rubber, so I’ve dialed down the heat and slowed way down.
Cooking eggs this way feels almost meditative—focusing on the quiet crackle of the pan, the smell of fresh eggs warming, and that subtle, buttery aroma. It’s a simple habit, but one that turns breakfast into a moment of calm before the chaos of the day. This method emphasizes quality over speed, making each bite a tiny celebration of breakfast.
Focusing on the gentle, low-and-slow technique to unlock the eggs’ creamy, custardy potential, turning a simple breakfast into a tender, melt-in-your-mouth experience.
The art of gentle scrambling
- I used to think fluffy eggs were just a matter of whisking more, but now it’s about gentle heat and patience.
- There’s a quiet joy in slowly coaxing the eggs to creamy perfection, feeling the texture change with each stir.
- One morning, I realized that the best eggs come from a pan that’s just warm enough—not hot—so they cook evenly and stay tender.
- Getting this right has made breakfast feel like a small, personal victory—simple, satisfying, and honestly a little meditative.
The inspiration behind this method
- I remember the first time I truly understood the power of patience with eggs. It was a quiet Sunday morning, and I was tired of the rubbery, overcooked scramble I kept ending up with. That day, I decided to slow down, use lower heat, and really pay attention to the texture forming in the pan. The result was a cloud-like, silky scramble that made me rethink breakfast entirely.
- Ever since, I’ve been chasing that perfect, tender consistency. It’s not about fancy ingredients or tricky techniques—just gentle heat and a lot of stirring. This recipe is my way of sharing that quiet, almost meditative approach to breakfast, where the focus is on the process, not just the plate.
- heading
Historical & Cultural Notes
- Scrambled eggs as we know them today gained popularity in the early 20th century, evolving from simpler cooked egg dishes across various cultures.
- The term ‘scrambled’ first appeared in English cookbooks in the 1880s, describing a method of stirring eggs while cooking to create soft curds.
- In some European countries, eggs are traditionally scrambled with herbs, cheese, or even smoked fish, showcasing regional flavor adaptations.
- The technique of gently stirring eggs over low heat was popularized in the mid-1900s as a way to produce creamier, more delicate textures.
Key ingredients for perfect eggs
- Eggs: I prefer farm-fresh eggs—they have a richer, more vibrant yolk that turns a beautiful custardy yellow when cooked. If you’re using supermarket eggs, just beat them well; they still work fine. Watch for that slightly runny, glossy look before moving on.
- Butter: I always melt butter gently—just enough to coat the pan and deepen the eggs’ flavor with a warm, nutty aroma. Use unsalted for control, but a pat of salted butter adds a subtle, savory edge. Don’t rush the melting; that’s where the magic begins.
- Salt: I like seasoning eggs early—just a pinch—and tasting as I go. A little salt at the start enhances the natural sweetness of the eggs. If you prefer, add pepper at the end for a fresh bite. Too much salt early can toughen the eggs, so go easy.
- Cream or Milk: I swirl in a splash of heavy cream—just enough for extra richness and a velvety texture. If you want a lighter version, skip it or use a little milk. It helps keep the eggs moist and soft, especially during slow cooking.
- Optional Add-ins: Chives, cheese, or smoked salmon—these should be added gently at the end, just to warm through. I love how fresh herbs brighten the dish, but overdoing it can overwhelm the delicate scramble’s creaminess.
Spotlight on key ingredients
Eggs:
- I prefer farm-fresh eggs—they have a richer, more vibrant yolk that turns a beautiful custardy yellow when cooked. If you’re using supermarket eggs, just beat them well; they still work fine. Watch for that slightly runny, glossy look before moving on.
- Butter: I always melt butter gently—just enough to coat the pan and deepen the eggs’ flavor with a warm, nutty aroma. Use unsalted for control, but a pat of salted butter adds a subtle, savory edge. Don’t rush the melting; that’s where the magic begins.
- Salt: I like seasoning eggs early—just a pinch—and tasting as I go. A little salt at the start enhances the natural sweetness of the eggs. If you prefer, add pepper at the end for a fresh bite. Too much salt early can toughen the eggs, so go easy.
Butter and Cream:
- Butter: I melt it slowly, watching for that nutty smell and just a slight shimmer. It’s the base that makes the eggs rich and velvety, so don’t rush this step. Use good-quality butter for best flavor.
- Salt: Seasoning early helps the eggs emulsify and enhances their natural flavors. A tiny pinch is enough—taste and adjust. If you over-salt early, the eggs can turn tougher and less tender.
- Cream: I swirl in just a splash of heavy cream—think a teaspoon per egg—for a luxurious, melt-in-your-mouth texture. If you want lighter eggs, skip it, but it’s the secret to that rich, custardy bite.
Notes for ingredient swaps
- Dairy-Free: Substitute butter with olive oil or a neutral-flavored oil. The eggs won’t have that rich, buttery aroma, but they’ll still be moist and tender.
- Vegan: Use plant-based butter or margarine, or a splash of coconut cream for richness. Expect a slightly different flavor profile, but still creamy.
- Lower Fat: Skip the butter and cook with a non-stick spray or a small drizzle of oil. The eggs might be a tad less rich but still soft and fluffy.
- Extra Creaminess: Add a dollop of crème fraîche or sour cream just before serving for an added velvety texture and tang.
- Herb Boost: Mix in chopped fresh herbs like chives or parsley for brightness. Dried herbs work too but lose some vibrancy.
- Cheese: Fold in shredded cheese like cheddar or Parmesan at the end. It melts into the eggs, adding salty, umami richness.
- Salt Levels: Salt eggs early for better emulsification, but if you’re sensitive, add a pinch at the end to control seasoning.
Equipment & Tools
- Non-stick skillet: Provides even, gentle heat and prevents sticking
- Silicone spatula: Gentle stirring and folding of eggs without scratching the pan
- Small mixing bowl: Whisking eggs for a uniform mixture
- Whisk or fork: Breaking yolks and combining whites
Step-by-step guide to perfect scramble
- Gather your equipment: a non-stick skillet, a silicone spatula, a small mixing bowl, and a whisk or fork. The non-stick pan ensures smooth, gentle cooking and easy cleanup.
- Crack 3 large eggs into the bowl. Whisk thoroughly until the yolks and whites are fully combined, but don’t overbeat—just a gentle, frothy mixture.
- Add a pinch of salt early—this helps the eggs emulsify and enhances their flavor. Optionally, season with a dash of pepper now or later.
- Place your skillet over very low heat—around 90°C / 200°F. Melt a generous knob of butter (about 1 tbsp), swirling until it’s just frothy and slightly nutty-smelling.
- Pour the eggs into the pan. The moment the eggs hit the butter, you should hear a gentle crackle—this is your cue to start stirring slowly.
- Gently stir the eggs with the spatula, pushing from edges to center. Keep the heat low and stir constantly. After about 30 seconds, you should see soft curds forming.
- Continue stirring slowly, allowing the eggs to cook evenly. Watch for a silky, slightly runny consistency—this takes about 2-3 minutes total.
- When the eggs are mostly set but still glossy and slightly creamy, remove the pan from heat. The residual warmth will finish the cooking without overdoing it.
- Give a final gentle stir. Check for doneness: they should be softly curdled, moist, and tender, not rubbery or dry. If needed, add a tiny bit more butter or seasoning now.
- Transfer to a plate or serving dish immediately. Rest for a minute to let any excess moisture evaporate. Serve hot, garnished with herbs if desired.
Serve immediately after resting for a minute. Gently fold onto a plate, garnish with fresh herbs if desired. Keep warm with a covered plate if serving later, but avoid reheating to preserve the tender texture.
How to Know It’s Done
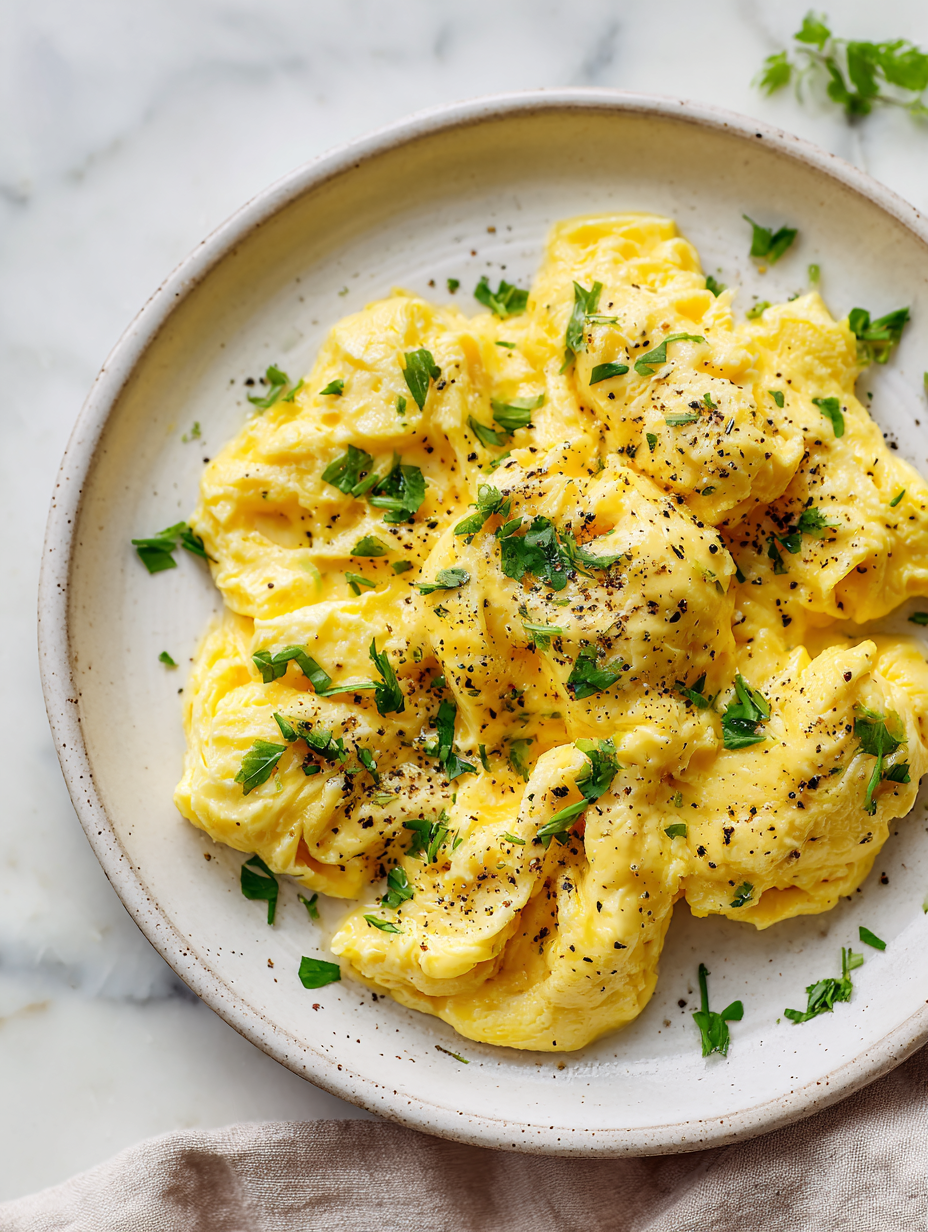
- Eggs are creamy, slightly runny, and softly curdled, not dry or rubbery.
- Color is a rich, uniform yellow, with a gentle sheen from the butter.
- A faint buttery aroma and a soft crackle when stirring indicate right heat and doneness.
Silky Low-and-Slow Scrambled Eggs
Ingredients
Equipment
Method
- Crack the eggs into a small mixing bowl and whisk thoroughly until the yolks and whites are just combined, creating a frothy, uniform mixture.
- Add a pinch of salt to the eggs and whisk again to incorporate. This early seasoning helps with emulsification and flavor.
- Place your non-stick skillet over very low heat, approximately 90°C / 200°F. Add the butter and let it melt gently, swirling the pan to coat the surface evenly. The butter should shimmer with a faint nutty aroma.
- Pour the whisked eggs into the warm pan. You should hear a gentle crackle as they hit the butter—this indicates the right temperature for slow cooking.
- Start stirring immediately with a silicone spatula, pushing the eggs from the edges toward the center in slow, gentle motions. Keep the heat low to allow an even, silky curd to form.
- Continue gently stirring, watching as the eggs slowly thicken and form soft, glossy curds. This process takes about 2-3 minutes. Be patient; the key is gentle heat and persistent stirring.
- If using, swirl in a teaspoon of heavy cream now, folding it gently into the eggs for extra richness and a velvety appearance. Remove the pan from heat once the eggs are just softly set but still moist and glossy.
- Give the eggs a final gentle stir, then taste and add pepper or additional seasoning if desired. Serve immediately for the best creamy texture.
Notes
Pro tips for perfect scrambled eggs
- Low and slow: Keep the heat on very low—around 90°C / 200°F—to gently coax out creaminess without scrambling too quickly.
- Constant gentle stirring: Use a silicone spatula to stir slowly and continuously—this prevents eggs from sticking and creates tender curds.
- Remove from heat early: Take the pan off the stove when eggs are slightly runny—they’ll finish cooking with residual heat, avoiding overcooking.
- Use butter generously: Melting butter slowly and evenly coats the eggs, adding richness and preventing sticking—don’t rush this step.
- Season early: Salt eggs at the start; it helps emulsify and enhances flavor. Adjust with pepper or herbs at the end for freshness.
- Finish with a touch of cream: Swirl in a small splash of heavy cream just before serving for extra velvety texture and flavor.
- Avoid over-stirring at the end: Once eggs are mostly set, gentle folding helps keep them creamy and prevents a dry, crumbly texture.
Common mistakes and how to fix them
- TOO MUCH HEAT: DUMPED eggs too quickly; fix by lowering heat and stirring constantly.
- UNDER-SEASONED: FORGOT salt early; fix by adding a pinch just before finishing.
- OVERCOOKED: DUMPED eggs on high heat; fix by removing from heat sooner and gentle stirring.
- DRY TEXTURE: OVER-TORCHED eggs; fix by reducing heat and removing from pan while still moist.
Quick fixes and pantry swaps
- When eggs look dry, splash in a tiny bit of warm milk or butter to revive moisture.
- If eggs stick and burn, shield the pan with a damp paper towel for even heat distribution.
- DUMPED eggs too quickly? Rescue with a teaspoon of cold butter, gently folding for creaminess.
- Over-torched eggs? Patch by removing from heat immediately and stirring in a splash of cream.
- When in doubt, pantry swap: use Greek yogurt instead of cream for a tangy, soft texture.
Prep, store, and reheat tips
- You can whisk the eggs ahead of time and keep them covered in the fridge for up to 24 hours; they’ll stay fresh and ready to cook with a slightly richer smell.
- Store any cooked scramble leftovers in an airtight container in the fridge for up to 2 days. Reheat gently in a non-stick pan over low heat, stirring constantly until warmed through and slightly bubbly.
- Raw eggs can be cracked and mixed with seasonings a few hours before cooking—just keep refrigerated, and give them a quick stir before cooking to recombine.
- For best flavor, reheat scrambled eggs slowly, watching for a slight shimmer of moisture and a gentle crackle—avoid high heat to prevent dryness.
- Freezing cooked scrambled eggs isn’t recommended—they tend to become grainy and lose their tender texture upon thawing, so best to enjoy fresh or within a couple of days.
Top questions about perfect scrambled eggs
1. Why do my eggs turn out rubbery?
Use fresh eggs for richer flavor and better texture. Older eggs tend to be rubbery and less creamy.
2. How do I avoid overcooking scrambled eggs?
Cook eggs over very low heat and stir constantly. This slow process prevents overcooking and keeps them tender.
3. Should I add butter before or after cracking eggs?
Adding butter early helps create a silky, moist scramble. It also prevents sticking and adds flavor.
4. When should I add salt to my eggs?
Season eggs with salt before cooking to improve emulsification and flavor. Pepper can be added at the end.
5. What equipment is best for perfect scrambled eggs?
Use a non-stick skillet and a silicone spatula for gentle stirring and easy cleanup.
6. Can I make scrambled eggs more creamy?
For extra creaminess, swirl in a splash of heavy cream or a dollop of crème fraîche just before serving.
7. How do I know when scrambled eggs are done?
Cook eggs until they are just set but still moist and glossy, then remove from heat to finish cooking off the stove.
8. Can I prepare eggs in advance?
You can whisk eggs ahead and store in the fridge for up to 24 hours; re-whisk before cooking.
9. How should I reheat leftover scrambled eggs?
Reheat cooked scrambled eggs gently in a pan over low heat, stirring until warmed through, about 1-2 minutes.
10. Can I freeze scrambled eggs?
Avoid freezing cooked eggs—they tend to become grainy. Fresh is best for tender, creamy texture.
In the quiet moments after making these eggs, I often find myself savoring the soft, buttery aroma that lingers. There’s something satisfying about turning simple ingredients into a tender, custardy dish that feels like a small act of care. It’s a reminder that patience and gentle attention can elevate even the most basic breakfast.
No matter how hectic the morning, taking a moment to cook eggs this way keeps me grounded. It’s a small ritual that sets a calm tone for the day ahead, highlighting how something as simple as scrambled eggs can be a mindful, comforting start.