
This no-bake recipe is my go-to when I want something sweet without the fuss of turning on the stove. There’s a certain magic in the way the melted chocolate and butter cling to the crispy cornflakes, creating that perfect crunch with every bite. It’s like a childhood comfort disguised as an easy adult treat, and I love how quick it comes together after a hectic day.
What makes this recipe stand out is its simplicity—no oven, no complicated steps, just honest ingredients coming together in a bowl. I’ve made these bars countless times, especially when I need something sweet but don’t want to deal with the mess of baking. Plus, the smell of melting chocolate and toasted cornflakes is a little nostalgic reminder of simpler moments.
In the heat of summer, when I’m craving something rich but don’t want to crank up the AC, these bars are my secret weapon. They’re perfect for quick gatherings or just a quiet moment with a cup of tea. It’s a recipe that’s all about comfort, practicality, and that little rush of satisfaction when you bite into something homemade.
This recipe is my secret weapon for transforming childhood comfort into adult kitchen triumph. It’s a nostalgic fix that turns a simple candy bar into a shared moment of joy, all without turning on the stove on hot summer days.
The story behind this recipe
- This recipe was born out of a busy afternoon when I needed a sweet fix that wouldn’t require turning on the oven. I remember rummaging through my pantry and finding a bag of cornflakes that I was about to forget about. It struck me how their light crunch could be the perfect base for something rich and chocolaty, without any fuss.
- I’ve always loved how these bars bring back childhood memories—crunchy, chocolatey, and just sweet enough. Making them felt like a small act of rebellion against the complicated, overly polished desserts I usually chase after. It’s honest, straightforward, and somehow always hits the spot after a hectic day.
- Now, whenever I need a quick treat that feels like a little victory, I turn to this no-bake recipe. It’s simple, forgiving, and honestly, kind of perfect for when you want something homemade but don’t want to fuss. Plus, the smell of melting chocolate mixed with toasted cornflakes is a cozy reminder of lazy weekends and childhood afternoons.
Ingredient breakdown: key components
- Chocolate: I prefer a good quality semi-sweet chocolate—melts smoothly and makes the bars rich, not waxy. Swap for dark or milk, but watch the sweetness level.
- Cornflakes: These give that unmistakable crunch—light, airy, with a subtle toasted flavor. If you’re out, puffed rice or even crushed graham crackers can work, but skip the crispy texture.
- Butter: I use unsalted butter for control over salt—makes everything feel more decadent. Margarine can be a substitute but will change the richness slightly.
- Sweetener (optional): Sometimes I add a pinch of honey or golden syrup for extra gloss and depth. Skip if you want pure chocolate flavor or prefer a less sweet bar.
- Vanilla extract: It enhances the chocolate’s richness and adds warmth. If you don’t have it, a splash of almond extract gives a different but lovely aroma.
- Optional add-ins: Nuts or dried fruit—these add texture and contrast. Toast the nuts first for smoky depth, or skip for a cleaner bite.
- Salt: Just a pinch to balance sweetness. If you’re using salted butter, cut back the added salt to avoid over-salting.
Spotlight on key ingredients
Chocolate:
- I prefer a good quality semi-sweet chocolate—melts smoothly and makes the bars rich, not waxy. Swap for dark or milk, but watch the sweetness level.
- Cornflakes: These give that unmistakable crunch—light, airy, with a subtle toasted flavor. If you’re out, puffed rice or even crushed graham crackers can work, but skip the crispy texture.
- Butter: I use unsalted butter for control over salt—makes everything feel more decadent. Margarine can be a substitute but will change the richness slightly.
Cornflakes:
- They’re light and crispy, adding that crunch with a hint of toasted flavor. They hold up well and give structure to the bars.
- Butter: Melts with a rich, slightly nutty aroma. During melting, it becomes glossy and smooth, crucial for coating the flakes evenly.
Notes for ingredient swaps
- Dairy-Free: Use coconut or vegan butter instead of regular butter; it might add a subtle coconut aroma but keeps it dairy-free.
- Chocolate: Swap semi-sweet for dark or even milk chocolate—each will give a different richness and sweetness profile.
- Cornflakes: Puffed rice or crisp rice cereal can replace cornflakes for a lighter, less toasted crunch.
- Sweetener: Honey or maple syrup can replace sugar or corn syrup for a slightly different sweetness and flavor depth.
- Add-ins: Nuts or dried fruit—try toasted almonds or dried cranberries for extra texture and flavor contrast.
- Salt: Use sea salt flakes instead of regular salt for a crunch and a hint of briny flavor.
- Vegan Version: Replace butter and chocolate with plant-based alternatives, though expect some change in richness and texture.
Equipment & Tools
- Large mixing bowl: For melting and combining ingredients.
- Microwave or double boiler: To melt the chocolate and butter gently.
- Spatula: For folding and mixing the ingredients evenly.
- Loaf tin lined with parchment: To shape and set the bars.
- Sharp knife: To cut the set mixture into bars.
Step-by-step guide to no-bake bars
- Gather all your ingredients and equipment. Use a large mixing bowl for melting and mixing, and a loaf tin (8×4 inch) lined with parchment for setting.
- Melt the chocolate and butter together. Use a microwave or double boiler. Microwave on 30-second bursts, stirring each time, until smooth. Expect a rich, glossy finish after about 1-2 minutes.
- In the large bowl, pour the melted chocolate mixture over the cornflakes. Gently fold with a spatula until every flake is coated. Be careful not to crush the cornflakes—stop when evenly coated but still light.
- Transfer the mixture into the prepared loaf tin. Press down firmly with the back of a spoon or spatula to create an even layer. The mixture should feel compact but not overly dense.
- Refrigerate for at least 2 hours or until firm. If you’re in a rush, pop it in the freezer for 30-45 minutes. You want it to be solid enough to cut cleanly.
- Once set, lift the block out of the tin using the parchment paper. Use a sharp knife to cut into bars or squares. Wipe the knife clean between cuts for neat edges.
- Optional: Melt a little extra chocolate to drizzle over the bars for presentation. Let the drizzle set at room temperature for a shiny finish.
- Serve directly from the fridge or at room temperature for a softer bite. Keep leftovers in an airtight container in the fridge for up to a week.
Refrigerate the assembled mixture for at least 2 hours or until completely firm. Once set, lift out using the parchment, cut into desired shapes, and optionally drizzle with melted chocolate for a polished look. Serve chilled or at room temperature, storing leftovers in an airtight container in the fridge.
How to Know It’s Done
- Chocolate coating is glossy and smooth, not dull or grainy.
- Bars hold together firmly when pressed, not crumbly or loose.
- Chocolate is fully set and firm after chilling, with no sticky or soft spots.
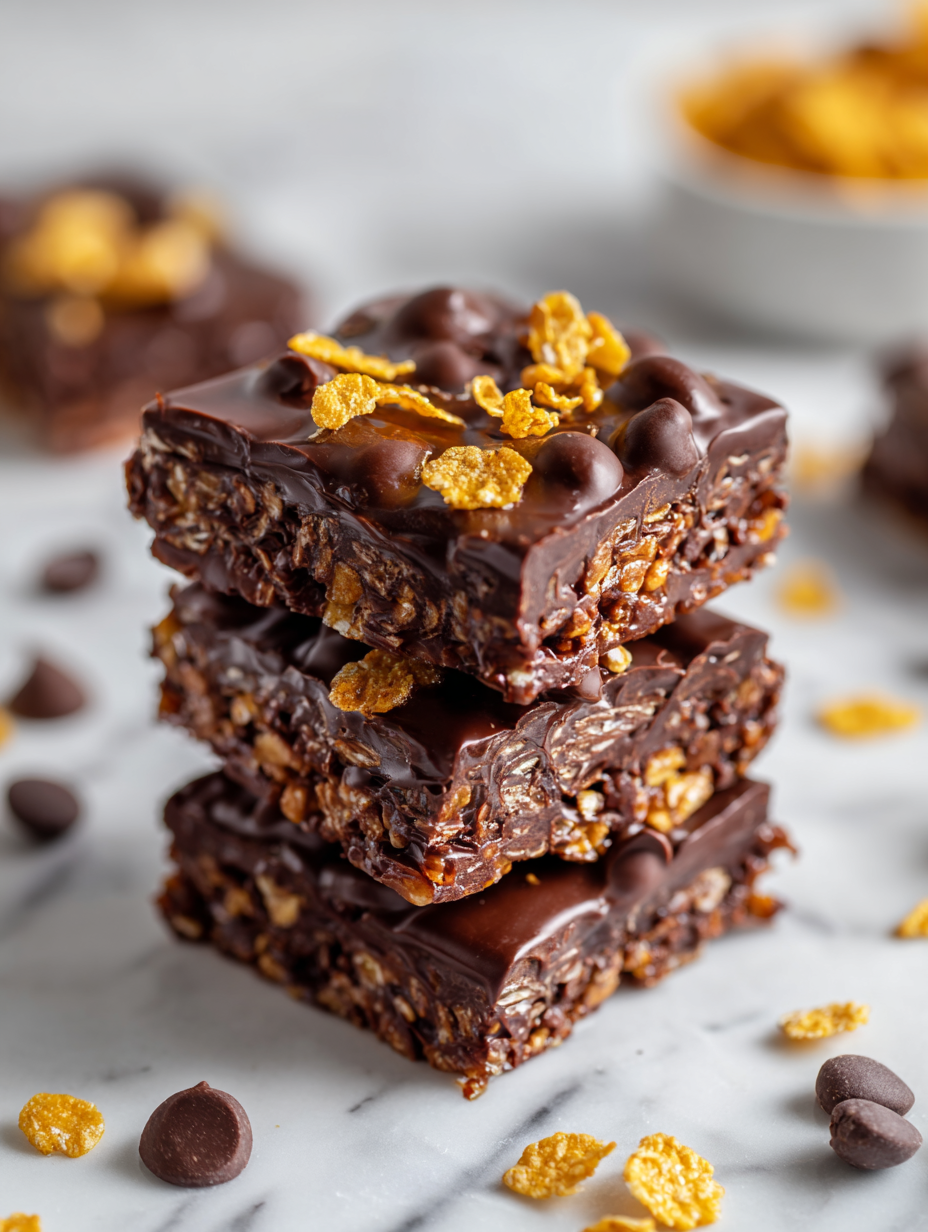
No-Bake Chocolate Cornflake Bars
Ingredients
Equipment
Method
- Chop the chocolate into small pieces and measure out the butter. Prepare a loaf tin by lining it with parchment paper for easy removal.
- In a microwave-safe bowl or using a double boiler, melt the chocolate and butter together, stirring every 30 seconds until smooth and glossy. The mixture will smell rich and sweet as it melts.
- Pour the melted chocolate and butter mixture into a large mixing bowl. Add a teaspoon of vanilla extract and a pinch of salt, then stir well to combine everything into a smooth, shiny sauce.
- Gently fold in the cornflakes with a spatula, coating each flake evenly without crushing them—this step creates a crunchy, chocolate-coated mixture that smells toasted and sweet.
- Transfer the mixture into the prepared loaf tin. Use the back of a spatula or a spoon to press it down firmly and evenly, creating a compact, textured layer.
- Place the tin in the refrigerator and chill for at least 2 hours, or until the mixture is firm and set. You’ll notice the chocolate becomes glossy and the edges firm up.
- Once chilled, lift out the block of set mixture from the tin using the parchment paper. Use a sharp knife warmed slightly under hot water to cut into bars or squares, wiping the blade clean between cuts for neat edges.
- If desired, melt a small amount of extra chocolate and drizzle over the bars for a beautiful finish. Let the drizzle set for a shiny, tempting look.
- Enjoy these rich, crunchy bars chilled or at room temperature. Store leftovers in an airtight container in the fridge for up to a week, and indulge anytime craving hits.
Notes
Pro tips for perfect bars
- Bolded mini-head: Use gentle heat → Melt chocolate slowly, avoiding scorching and achieving a glossy finish.
- Bolded mini-head: Incorporate quickly → Fold in cornflakes swiftly to prevent crushing and keep the crunch intact.
- Bolded mini-head: Chill properly → Refrigerate for at least 2 hours until bars are firm and cleanly sliceable.
- Bolded mini-head: Watch for gloss → The melted chocolate should be shiny and smooth, not dull or grainy.
- Bolded mini-head: Add extras last → Fold in nuts or dried fruit gently to prevent breaking the flakes.
- Bolded mini-head: Use parchment → Line your tin to lift out the bars easily and avoid sticking.
- Bolded mini-head: Cut with a hot knife → Warm the blade slightly for clean, neat edges without crumbling.
Common mistakes and how to fix them
- FORGOT to measure ingredients precisely → Use a scale for accuracy.
- DUMPED hot chocolate mixture too quickly → Add gradually for better coating.
- OVER-TORCHED chocolate → Remove from heat immediately and stir until smooth.
- MISSED chilling time → Chill until bars are firm, about 2 hours or overnight.
Quick fixes and pantry swaps
- When chocolate seizes, splash in a teaspoon of vegetable oil to smooth it out.
- If bars crack when cutting, chill longer or run your knife under hot water first.
- DUMPED in too much butter? Add more cornflakes to balance moisture and texture.
- When the mixture feels too stiff, gently warm it to loosen before pressing into the tin.
- Splash a few drops of vanilla or almond extract if the chocolate flavor feels flat.
Prep, store, and reheat tips
- Prepare the mixture and press into the tin ahead of time; it firms up better when chilled overnight.
- Bars can be stored airtight in the fridge for up to a week; the chocolate stays glossy and firm.
- For longer storage, freeze wrapped bars for up to a month; expect a slight change in texture but still delicious.
- Reheat slightly at room temperature for 5 minutes to soften the chocolate before serving, enhancing that melt-in-your-mouth feel.
- Chilled bars develop a more intense chocolate flavor, but beware of condensation if left out too long.
Top questions about no-bake chocolate bars
1. Can I use any chocolate?
Yes, using smooth, high-quality chocolate makes a noticeable difference in flavor and texture, giving a richer, glossy finish.
2. Can I substitute the cornflakes?
Absolutely, you can swap cornflakes for puffed rice or crushed graham crackers, but the crunch and flavor will change slightly.
3. How long should I chill the bars?
Refrigerate the bars for at least 2 hours until firm. The chocolate should be solid and the bars hold their shape.
4. Can I add other ingredients?
Yes, you can add nuts or dried fruit for extra texture. Toast nuts beforehand for a smoky depth.
5. How do I cut the bars neatly?
Use a sharp, warm knife to cut the bars for clean edges. Wipe the blade between cuts if needed.
6. How should I store the bars?
Store leftovers in an airtight container in the fridge for up to a week; they stay firm and glossy.
7. What if my chocolate cools too quickly?
If the chocolate seizes or becomes grainy, add a teaspoon of vegetable oil and stir until smooth.
8. How do I prevent sticking?
To prevent sticking, line your tin with parchment paper. Press the mixture firmly for even bars.
9. How should I melt the chocolate?
Use a microwave or double boiler on low heat—microwave in 30-second bursts, stirring each time.
10. When is it best to serve?
Chilling the bars overnight enhances flavor and makes them easier to cut, but they’re delicious right after setting.
These no-bake chocolate cornflake bars are a reminder that sometimes, simple ingredients can create something unexpectedly satisfying. They’re perfect for whenever I need a quick fix that’s both nostalgic and indulgent, especially on hot days when turning on the oven feels like too much.
Sharing these bars feels like passing along a secret—something that’s been in my kitchen for years, ready to brighten a moment or satisfy a sweet craving with minimal fuss. They’re not fancy, but they carry a quiet comfort that keeps me coming back, no matter the season.