
There’s something oddly satisfying about a granola bar that crunches unexpectedly, even without the oven. I stumbled on this idea during a chaotic morning when I needed a quick snack that wouldn’t fall apart or require baking fuss. Turns out, letting the mixture sit and firm up creates these caramelized edges and a satisfying crackle with every bite — a little surprise in each bar.
I love how this recipe turns the usual on its head. No bake, no mess, just a handful of ingredients coming together into something that feels almost gourmet — thanks to those crispy edges and that rich, toasted aroma. It’s a perfect solution when you’re craving a homemade treat but running low on patience or time, especially when you want to keep things simple but do it right.
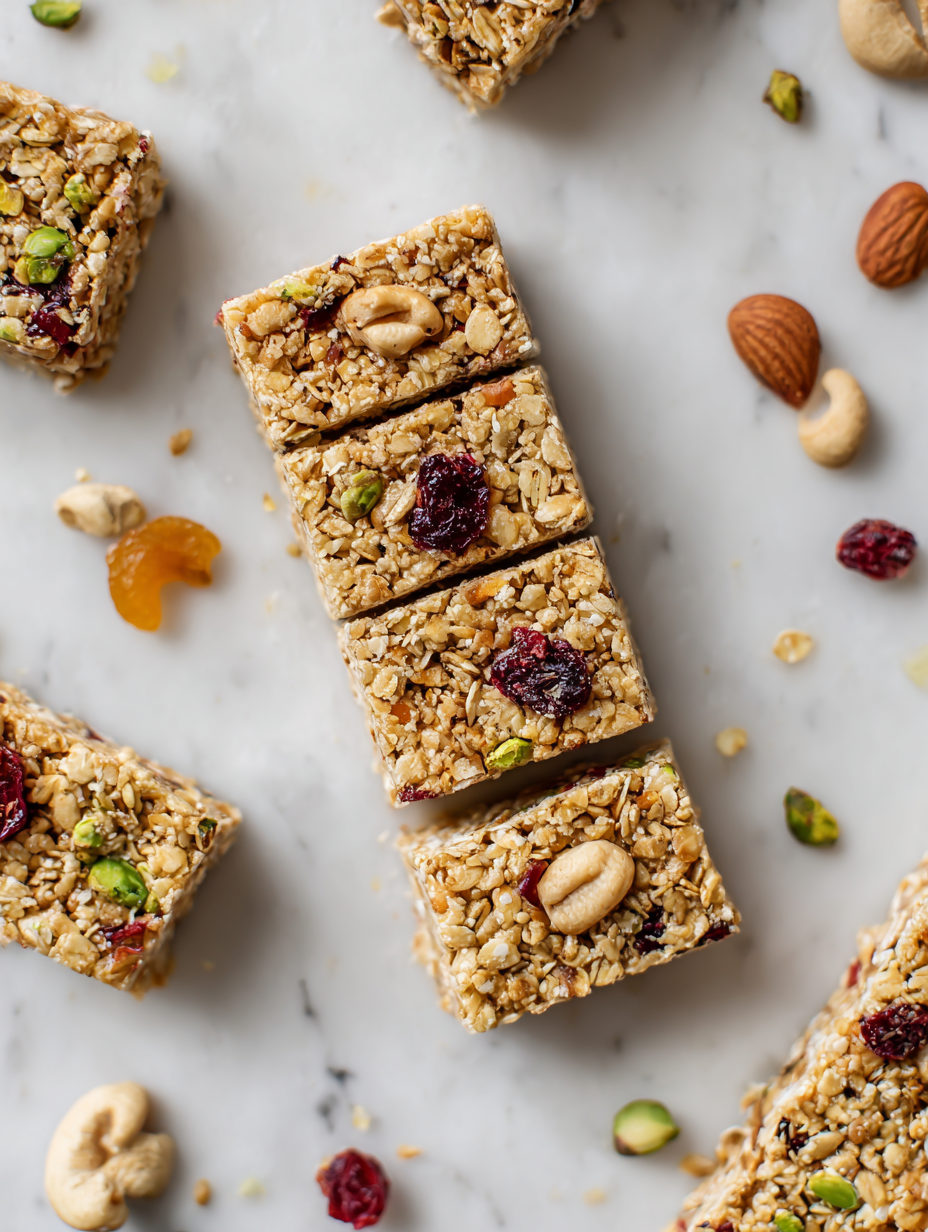
Focusing on the unexpected crunch and caramelized edges that develop as the bars sit, even without baking.
The story behind this recipe
This recipe was born out of a busy weekend when I needed a quick, no-fuss snack that still felt special. I was tired of the usual store-bought options and wanted something with a bit more personality and texture. The idea of skipping the oven and letting natural sweetness and crunch develop on their own was a revelation, and I’ve been hooked ever since.
Ingredient breakdown
- Oats: I love using old-fashioned rolled oats because they give a hearty texture and a nutty aroma. Feel free to swap in quick oats if you’re in a pinch, but the crunch might be softer.
- Honey: The glue that holds everything—its sticky sweetness makes the bars caramelize slightly as they sit. Maple syrup can replace it for a different flavor, but expect a slightly softer set.
- Nuts: Toasted almonds or walnuts add crunch and richness. If you’re allergic or out, shredded coconut or seeds work well, though they won’t provide quite the same bite.
- Dried Fruit: I prefer cranberries or chopped dates for a sweet, chewy contrast. Dried apricots or mango can be a tangy surprise, but watch out for over-drying—look for plump, slightly sticky pieces.
- Binder: Melted coconut oil helps everything stick together and adds a subtle richness. You can swap in butter or nut butters, but the texture and flavor will shift—expect a slightly softer or richer bar.
- Add-ins: Chocolate chips or seeds add flavor bursts. Feel free to omit or experiment with cinnamon or spice blends—just keep in mind they can influence the overall texture and moisture.
- Salt: A pinch of sea salt enhances sweetness and brings out the nutty notes. Don’t skip it, or the bars might taste flat; too much, and they’ll be overly salty—measure carefully.
Spotlight on key ingredients
Oats:
- I love using old-fashioned rolled oats because they give a hearty texture and a nutty aroma. Feel free to swap in quick oats if you’re in a pinch, but the crunch might be softer.
- Honey: The glue that holds everything—its sticky sweetness makes the bars caramelize slightly as they sit. Maple syrup can replace it for a different flavor, but expect a slightly softer set.
- Nuts: Toasted almonds or walnuts add crunch and richness. If you’re allergic or out, shredded coconut or seeds work well, though they won’t provide quite the same bite.
Dried Fruit:
- Honey: The glue that holds everything—its sticky sweetness makes the bars caramelize slightly as they sit. Maple syrup can replace it for a different flavor, but expect a slightly softer set.
- I prefer cranberries or chopped dates for a sweet, chewy contrast. Dried apricots or mango can be a tangy surprise, but watch out for over-drying—look for plump, slightly sticky pieces.
Notes for ingredient swaps
- Dairy-Free: Use coconut oil instead of butter for binding—adds a subtle coconut aroma and keeps the bars vegan.
- Sweeteners: Maple syrup can replace honey for a different flavor profile, but expect a slightly softer, less caramelized texture.
- Nuts: Swap almonds or walnuts with roasted pumpkin seeds or sunflower seeds for a nutty crunch without the nut allergy concern.
- Dried Fruit: Cranberries or chopped apricots can introduce tangy bursts; fresh fruit is a no-go here, but dried keeps its chew.
- Binders: Melted coconut oil or nut butters can stand in for honey, adding richness but possibly changing the firmness slightly.
- Add-ins: Chocolate chips or shredded coconut can be swapped based on preference, but consider moisture content—coconut may toast better.
- Salt: Sea salt or flaky salt can be used for a more pronounced salty crunch that balances sweetness.
Equipment & Tools
- 20x20cm (8×8 inch) square pan: to hold and shape the bars
- mixing bowl: combining dry ingredients
- spatula: mixing and pressing down the mixture
- parchment paper: prevent sticking and facilitate removal
- sharp knife: cutting into bars
Step-by-step guide to no bake bars
- Gather all equipment: a 20x20cm (8×8 inch) square pan, a mixing bowl, a spatula, a parchment paper sheet, and a sharp knife. Purpose: prepping workspace and tools for efficient assembly.
- Line the pan with parchment paper, leaving some overhang for easy removal. Purpose: prevents sticking and makes cutting easier.
- In a large mixing bowl, combine 2 cups of rolled oats, 1/2 cup chopped nuts, and 1/4 cup dried fruit. Purpose: base dry ingredients for texture and flavor.
- In a small saucepan over low heat, melt 1/3 cup honey and 2 tablespoons coconut oil together. Purpose: creating a sticky, sweet binder that caramelizes slightly.
- Once melted and combined (about 2 minutes, smell of toasted honey), pour the mixture over the dry ingredients. Purpose: coating everything evenly for good binding.
- Stir vigorously with a spatula until all dry ingredients are coated and sticky. Check for even distribution, about 2-3 minutes. Purpose: ensure consistent texture and crunch.
- Transfer the mixture into the prepared pan. Use the spatula to press down firmly, spreading evenly. Purpose: compacting the bars for a firm set.
- Press the mixture into the pan, then use a piece of parchment to smooth the top and create a flat surface. Purpose: even edges and consistent thickness.
- Refrigerate for at least 2 hours, or until firm. Purpose: allowing the mixture to set and the flavors to meld.
- Once set, lift the block out using the parchment overhang, place on a cutting board, and cut into bars or squares with a sharp knife. Purpose: clean, straight cuts for uniform bars.
- Optional: store in an airtight container at room temperature for up to a week, or freeze for longer storage. Purpose: maintaining freshness and texture.
Refrigerate until firm, then lift out using parchment overhang. Slice into bars, serve immediately or store in an airtight container. For best crunch, eat within a week or freeze for longer storage.
How to Know It’s Done
- Bars are firm and hold shape when pressed gently.
- Edges show a slight caramel color and crispy appearance.
- The mixture crackles softly when pressed, indicating proper set.
No-Bake Crunchy Granola Bars
Ingredients
Equipment
Method
- Line your square pan with parchment paper, leaving some overhang for easy removal.
- In a large mixing bowl, combine the oats, chopped nuts, and dried fruit, mixing them well to distribute evenly.
- In a small saucepan over low heat, gently warm the honey and melted coconut oil until they just start to bubble and smell toasted, about 2 minutes.
- Pour the warm honey and coconut oil mixture over the dry ingredients in the bowl. Use a spatula to stir vigorously, coating everything evenly until the mixture is sticky and glossy.
- Transfer the mixture into the prepared pan, pressing it down firmly with the back of a spatula or your fingers to create an even, compact layer.
- Use a piece of parchment paper to smooth the top and press down again, ensuring the mixture is tightly packed for a firm set.
- Refrigerate the pan for at least 2 hours, allowing the bars to firm up and develop those crispy edges and caramelized texture.
- Once set, lift the entire block out of the pan using the parchment overhang and place it on a cutting board.
- Use a sharp knife to cut the block into even bars or squares, feeling the satisfying crackle as you slice through the firm mixture.
- Serve immediately or store in an airtight container at room temperature for up to a week, enjoying the crisp, caramelized edges with every bite.
Pro tips for perfect bars
- Use a silicone spatula to fold ingredients gently; it prevents breaking delicate nuts and dried fruit.
- Warm the honey slightly before mixing; it flows more easily and coats everything evenly, enhancing crunch.
- Press the mixture firmly into the pan using the back of a spatula or a piece of parchment; this creates a tightly packed bar.
- Chill the bars in the fridge for at least 2 hours; it helps set the caramelization and makes slicing cleaner.
- Use a sharp serrated knife to cut; it reduces crumbling and gives tidy edges, especially if bars are firm.
- Store bars in an airtight container at room temperature for up to a week or freeze for longer freshness; keeps crunch intact.
- For extra crunch, toast the oats and nuts beforehand; it intensifies flavor and adds a smoky note.
Common mistakes and how to fix them
- FORGOT to pack the mixture tightly → Press firmly for better set.
- DUMPED the mixture in pan unevenly → Use a spatula to level smoothly.
- OVER-TORCHED the edges → Keep a close eye; remove early if edges darken.
- MISSED the chilling step → Chill until firm to prevent crumbling.
Quick fixes and pantry swaps
- When mixture is too sticky → Splash in a little warm water and mix again.
- If bars are crumbly → Patch with a thin layer of honey and press firmly.
- Dumped mixture unevenly → Use the back of a spatula to even out the surface.
- Over-torched edges → Shield with foil and lower the heat, then quicken fridge chilling.
- When mixture doesn’t set → Rescue by refrigerating for an extra hour, crackle indicates good firmness.
Prep, store, and reheat tips
- Prepping the mixture the night before allows flavors to meld and makes assembly quicker the next day, with the mixture smelling rich and slightly toasted.
- Store the completed bars in an airtight container at room temperature for up to a week; they stay chewy and retain a pleasant nutty aroma. For longer storage, freeze for up to a month, where they remain firm and fresh.
- Refrigerate the bars if you want a firmer texture straight from the fridge, which enhances the crunch, especially on hot days or after they’ve been stored for a few days.
- To reheat, briefly warm in the microwave for 10-15 seconds; the edges will crisp up slightly, and you’ll notice a warm, inviting aroma of honey and toasted oats.
- When reheating, expect a softer, slightly sticky texture—perfect if you prefer your bars a little more pliable or to enhance the caramelized flavor.
Top questions about no bake bars
1. How do I cut clean, even bars?
Use a sharp serrated knife to get clean, straight cuts that hold together well. Let the bars sit at room temperature for a few minutes before slicing if they are too firm.
2. How long should I chill the bars?
Refrigerate the bars for at least 2 hours until they are firm and set. This helps prevent crumbling and makes slicing easier.
3. How should I store leftover bars?
Store the bars in an airtight container at room temperature for up to a week, or freeze them for longer storage. Keep an eye on moisture to prevent sogginess.
4. What if my mixture is too sticky or dry?
If the mixture is too sticky, sprinkle in a little extra oats or nuts to absorb moisture. If it’s too dry, add a tiny bit more honey or melted coconut oil.
5. Can I make these vegan?
To make these bars vegan, swap honey for maple syrup and use coconut oil instead of butter or honey. The texture might be slightly softer but still delicious.
6. How can I enhance the flavor of the ingredients?
Use toasted oats and nuts for a richer, smoky flavor. If you want extra crunch, toast them in the oven at 180°C (356°F) for 8-10 minutes until fragrant.
7. My bars are crumbly, what do I do?
If the bars aren’t firm enough, refrigerate longer or add a bit more melted coconut oil to help them set better. Cracks and crumbles mean they need more chilling.
8. What if my mixture is too dry?
Splash warm water onto the mixture and stir if it’s too dry and crumbly. This can help it come together without overmixing.
9. How do I ensure the bars are compacted enough?
Press the mixture firmly into the pan using the back of a spatula or a piece of parchment. This compacting step is key to firm, chewy bars.
10. What if the edges over-brown?
If the edges start to burn, cover the pan with foil and lower the oven temperature slightly. Keep a close eye on the caramelizing edges.
These no bake granola bars come together quickly, but the real magic is how their unexpected crunch develops as they sit. There’s a quiet satisfaction in knowing I made something that’s both simple and a little surprising, with that perfect crackle on each bite. They’re a reminder that sometimes, the best treats are the ones you don’t have to bake.
Whenever I reach for one, I’m reminded of how good it feels to keep things honest and straightforward in the kitchen. No fuss, just honest ingredients coming together into something that’s both comforting and a little bit special. These bars are a small, imperfect victory in a busy day.