
Sometimes, the best snacks are the simplest, especially when they come together without turning on the stove. These no-bake fudge bars are my go-to for those lazy weekends or when I want something sweet without the fuss. They’re rich, creamy, and satisfy that chocolate craving in minutes, no heat required.
I love how forgiving this recipe is — you can tweak the ingredients based on what’s in your pantry, making it a real lifesaver. Plus, there’s something about the process of melting, mixing, and pressing that feels oddly meditative. It’s a treat that’s as much about the process as the final bite.
And honestly, the best part? You can make a batch ahead, stash it in the fridge, and pull out slices whenever that sweet tooth strikes. No baking, no waiting, just pure, fudgy goodness whenever you need it. It’s a little shortcut to dessert happiness, no doubt.
Turning a classic indulgence into a no-bake, fuss-free treat that’s perfect for lazy afternoons and unexpected guests.
The story behind this recipe
- This recipe was born out of a lazy Sunday afternoon when I realized I had a bunch of chocolate and butter but zero energy to turn on the oven. I wanted something quick, rich, and deeply satisfying, like those fudge squares I used to buy at the corner store but with a homemade touch.
- One day, I tossed everything into a pan, melted it all down, and pressed it into a dish — and it was magic. No baking, no fuss, just pure chocolate bliss in a pan. It became my emergency sweet, perfect for when I need a fix but don’t want to wait or clean up much.
- Over time, I’ve tweaked the ingredients to make it more indulgent or slightly lighter, but the core idea stays the same: simple, no-bake, and intensely chocolatey. It’s a recipe that’s stuck around because it’s honest, forgiving, and always hits the spot.
Ingredient breakdown
- Unsweetened cocoa powder: I like to sift mine with the sugar—clumps can make the fudge gritty. You want a deep, smoky aroma that fills the room when you open the jar.
- Butter: I prefer salted to balance the sweetness, but unsalted works fine if you add a pinch of salt later. When melted, it should smell rich and slightly caramelized, not burnt.
- Sweetened condensed milk: This is the glue that keeps everything smooth and fudgy. If it’s too thick, warm it slightly; if it’s too runny, give it a gentle stir and wait for it to thicken.
- Chocolate chips: I use semi-sweet, but dark chocolate chips add a more intense flavor. When melted, they should be glossy and oozy—watch for that crackle when stirring.
- Vanilla extract: A splash of this lifts the entire batch, making the chocolate taste richer. Use good quality vanilla—it makes a subtle but noticeable difference.
- Optional toppings: Chopped nuts or sea salt flakes add crunch and contrast. Sprinkle on top before chilling for that perfect textural balance.
- Optional coconut oil: I add just a teaspoon for a silkier, shinier finish. It helps the fudge set smoothly and adds a faint, tropical aroma—use sparingly if you prefer a firmer texture.
Spotlight on key ingredients
Chocolate chips:
- Sweetened condensed milk: I love how it makes the fudge incredibly smooth and creamy, almost velvety. If yours is too thick, gently warm it to loosen, but don’t overheat or it’ll be too runny.
- I prefer semi-sweet because they melt into a luscious, glossy mixture that oozes when you stir. When melting, they crackle and turn shiny, signaling they’re ready to fold in. Use good quality for deep flavor.
Butter:
- Unsweetened cocoa powder: I sift mine to avoid clumps—it’s the key to that rich, smoky aroma. When mixed into the melted butter and milk, it develops an intoxicating smell that’s both deep and slightly toasty, making the whole kitchen smell like comfort.
- I always use salted butter for a balanced sweetness. When melting, it should smell warm and caramel-y, not burnt. Keep an eye out for a glossy, golden appearance that signals it’s ready for mixing.
Notes for ingredient swaps
- Dairy-Free: Swap butter for coconut oil or vegan margarine. The fudge will still be rich but with a slight coconut aroma.
- Sweetener Alternatives: Use maple syrup or honey instead of condensed milk. Expect a different sweetness and slightly softer texture.
- Chocolate Options: Try dark chocolate or vegan chips to customize bitterness or dietary needs. The flavor will shift but still decadent.
- Nuts & Add-ins: Substitute chopped dried fruit or seeds for nuts. Adds chew and texture without the crunch, but keeps it interesting.
- Cocoa Powder: Dutch-processed for a smoother, mellower chocolate taste. Natural cocoa gives a more intense, slightly tangy flavor.
- Flavor Boosts: Add a pinch of espresso powder or chili flakes for a subtle layer of complexity. It’s a nice twist for the adventurous.
- Texture Enhancers: Mix in crushed cookies or rice cereal for more crunch. It’ll change the fudgy feel but adds a satisfying bite.
Equipment & Tools
- parchment paper: to line the dish and prevent sticking
- microwave-safe bowl: to melt butter quickly and evenly
- spatula: to mix and spread the fudge
- small saucepan: to melt or warm ingredients if needed
Step-by-step guide to no bake fudge bars
- Equipment & Tools: line a 20x20cm (8×8 inch) square baking dish with parchment paper, a microwave-safe bowl, a spatula, and a small saucepan.
- Melt the butter: microwave in 30-second bursts until just melted, about 1-2 minutes. Swirl to combine and smell for a rich, caramel aroma.
- Combine ingredients: in the bowl, mix melted butter, sweetened condensed milk, cocoa powder, and vanilla. Stir until smooth and glossy, about 2 minutes.
- Add chocolate chips: fold in semi-sweet chips until evenly distributed. They should start to soften and ooze when stirred.
- Pour into dish: transfer mixture into prepared dish. Use spatula to spread evenly, pressing down slightly for compactness.
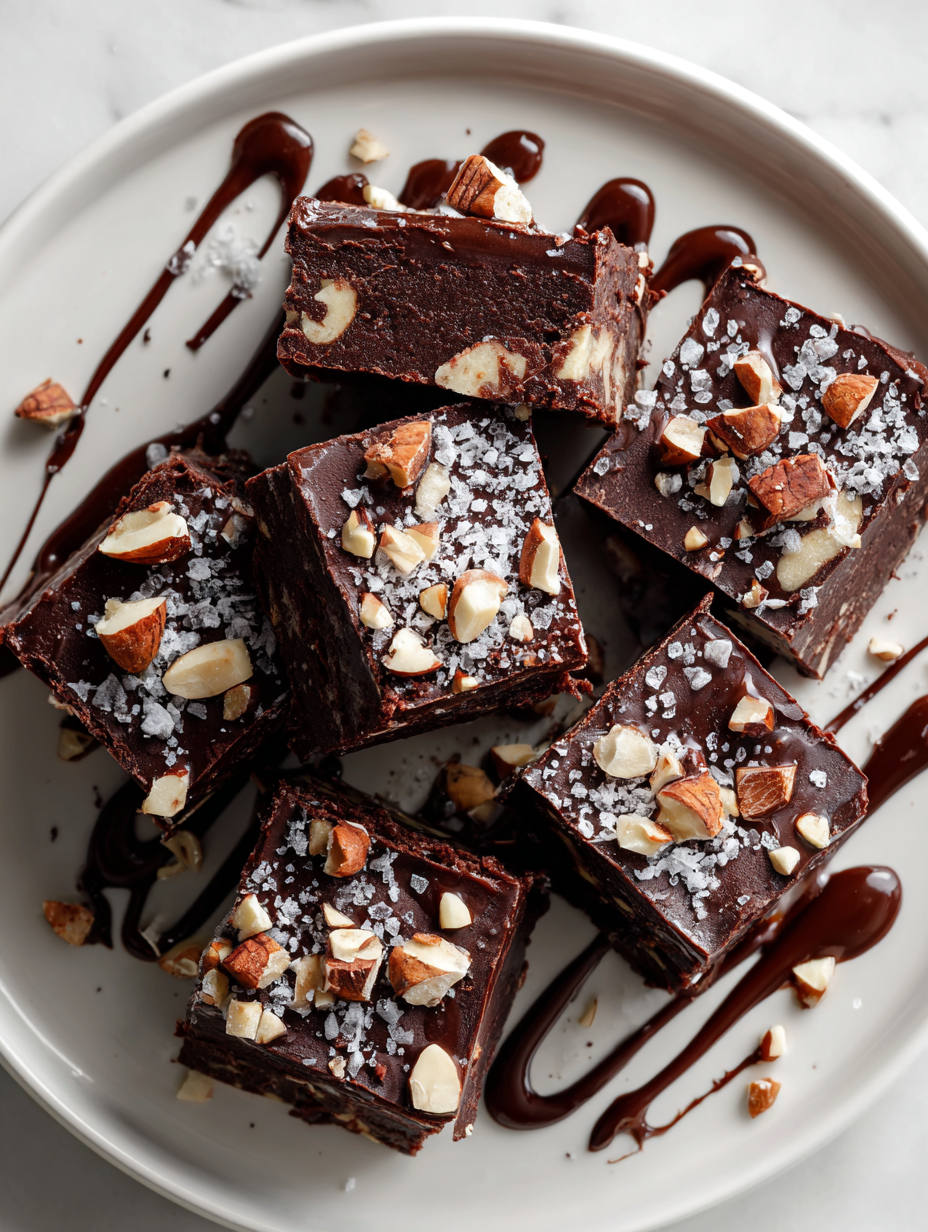
- Optional toppings: sprinkle chopped nuts or flaky sea salt on top for crunch and contrast.
- Chill: cover with plastic wrap and refrigerate for at least 2 hours, or until firm. The mixture should be set and slightly shiny.
- Check for doneness: the fudge should be firm but still slightly soft when pressed. It will crack slightly at the edges.
- Slice and serve: use a sharp knife to cut into squares. Serve chilled, with a glass of milk or coffee if you like.
- Resting & Finishing: store leftovers in an airtight container in the fridge for up to a week. Let sit at room temperature for 5 minutes before serving if too firm.
Refrigerate until fully set, about 2 hours. Slice into squares and serve chilled. Store leftovers in an airtight container in the fridge for up to a week.
How to Know It’s Done
- Fudge is firm and holds shape when sliced.
- Surface is glossy with a slight crackle when cut.
- Smell of rich chocolate and caramel while setting.
No-Bake Chocolate Fudge Bars
Ingredients
Equipment
Method
- Line a 20x20cm (8x8 inch) baking dish with parchment paper, leaving some overhang for easy removal.
- In a microwave-safe bowl, melt the butter in short bursts of 30 seconds, swirling between each until just melted and fragrant with a rich, caramel aroma.
- Add the sifted cocoa powder, sweetened condensed milk, and vanilla extract to the melted butter. Whisk everything together until smooth, glossy, and well combined, about 2 minutes.
- Gently fold in the chocolate chips until evenly distributed; they will soften and start to ooze when stirred, creating a luscious mixture.
- Pour the mixture into the prepared dish and use a spatula to spread it out evenly, pressing down gently to ensure it’s compacted and smooth on top.
- If desired, sprinkle chopped nuts or flaky sea salt flakes over the top for added texture and flavor.
- Cover the dish with plastic wrap and refrigerate for at least 2 hours, or until the fudge is firm, shiny, and slightly crackled on the surface.
- Once set, use the overhang to lift the fudge out of the dish. Place on a cutting board and cut into squares with a sharp knife warmed slightly with hot water for clean, neat slices.
- Serve the fudge bars chilled, enjoying their rich, fudgy texture and glossy appearance. Store leftovers in an airtight container in the fridge for up to a week.
Pro tips for perfect fudge bars
- Sift cocoa powder to prevent gritty texture and enhance aroma.
- Use room temperature butter for smooth melting and even mixing.
- Fold in chocolate chips gently to keep pockets of oozy chocolate intact.
- Press mixture firmly into the pan to avoid cracks and uneven surfaces.
- Chill for at least 2 hours until the fudge is firm and shiny on top.
- Use a sharp knife warmed slightly for clean cuts without crumbling.
- For extra shine, lightly brush the top with a bit of melted chocolate before chilling.
Common mistakes and how to fix them
- FORGOT to measure ingredients precisely → Use a scale for accuracy.
- DUMPED in all ingredients at once → Add ingredients gradually for smooth mixing.
- OVER-TORCHED the mixture → Remove from heat as soon as it’s glossy and smooth.
- MISSED chilling time → Chill at least 2 hours until firm and crackly on top.
Quick fixes and pantry swaps
- IF mixture is too thick → Splash in a little warm milk to loosen and blend.
- WHEN fudge is too soft → Patch with a few extra minutes in the fridge until firm.
- IF chocolate seizes or cracks → Shield with a gentle heat bath and stir until smooth.
- WHEN edges crack while slicing → Rescue with a warmed knife for clean cuts.
- SPLASH melted chocolate with a touch of coconut oil → Shimmer and smooth for perfect topping.
Prep, store, and reheat tips
- Prepare the fudge mixture ahead: melt, mix, and press into the pan a day before. It firms and develops a richer chocolate flavor overnight.
- Store in an airtight container in the fridge for up to a week. The fudge remains creamy and firm, with a glossy surface.
- For longer storage, freeze the bars for up to 3 months. Wrap tightly in plastic, then foil, to prevent freezer burn.
- Reheat slices briefly at room temperature for 5 minutes to soften slightly. The fudge will regain its silky texture and deepen in aroma.
- Chilled fudge bars tend to be firmer and more intensely chocolatey, perfect for slicing cleanly. Let sit out for a few minutes for softer bites.
Top questions about no bake fudge bars
1. Should I use cold or melted butter?
Use room temperature butter for smooth melting and even mixing. Cold butter can make the mixture lumpy.
2. How long do I need to chill the fudge?
Chill the fudge for at least 2 hours until it’s firm and crackly on top. Longer is fine for a more solid texture.
3. Can I make these dairy-free?
Yes, you can substitute coconut oil for butter for a dairy-free version. The texture stays creamy, but the flavor is subtly different.
4. My fudge is too soft or too hard, what do I do?
If your fudge is too soft, pop it back in the fridge for 30 minutes. If it’s too hard to cut, let it sit at room temperature for a few minutes.
5. Can I use different types of chocolate?
Use semi-sweet chocolate chips for a balanced sweetness. Dark chocolate chips will give a richer, more intense flavor.
6. Should I add salt on top?
Adding a pinch of sea salt or flaky salt on top before chilling enhances the chocolate flavor and adds a nice crunch.
7. How do I cut the fudge cleanly?
Use a sharp knife warmed slightly with hot water for clean, neat cuts. Wipe the knife after each slice.
8. How should I store leftover fudge?
Store leftovers in an airtight container in the fridge for up to a week. For longer, freeze wrapped slices for 3 months.
9. My fudge mixture seizes, what now?
If the mixture seizes or becomes grainy, gently warm it in a double boiler and stir until smooth again.
10. How can I make the top look shiny?
For a shiny finish, lightly brush melted chocolate over the top before chilling for a glossy, professional look.
Making these no-bake fudge bars is a small act of rebellion against the busy, heat-filled days. They come together quickly, with rich chocolate and a hint of vanilla that hits just right. Sometimes, the simplest treats are the most satisfying, especially when they remind us of lazy weekends and spontaneous gatherings. They’re a little indulgence that’s easy to keep in the fridge and reach for whenever a sweet craving sneaks up on you.
In the end, it’s about those moments of quiet joy—cutting a perfect square, feeling the firm snap, and tasting that deep, fudgy richness. No fuss, no oven, just honest, homemade chocolate bliss whenever you want it.