
This no bake coconut bars recipe is like a little slice of summer, no oven needed, just a handful of simple ingredients thrown together in a rush. It’s perfect for those days when the heat makes turning on the stove feel like a bad joke, but you still need that sweet coconut fix. Every bite is chewy, toasted, with just enough sweetness to keep you coming back for more.
I first started making these when I needed something quick and satisfying, a no-fuss treat that didn’t demand much more than a spoon and some patience. Over time, they’ve become my go-to for picnics, last-minute gifts, and those moments when I crave a nostalgic snack that’s as easy to make as it is to love. They remind me of beach days, salt in the air, and sunshine on my skin, all wrapped into one little bar.
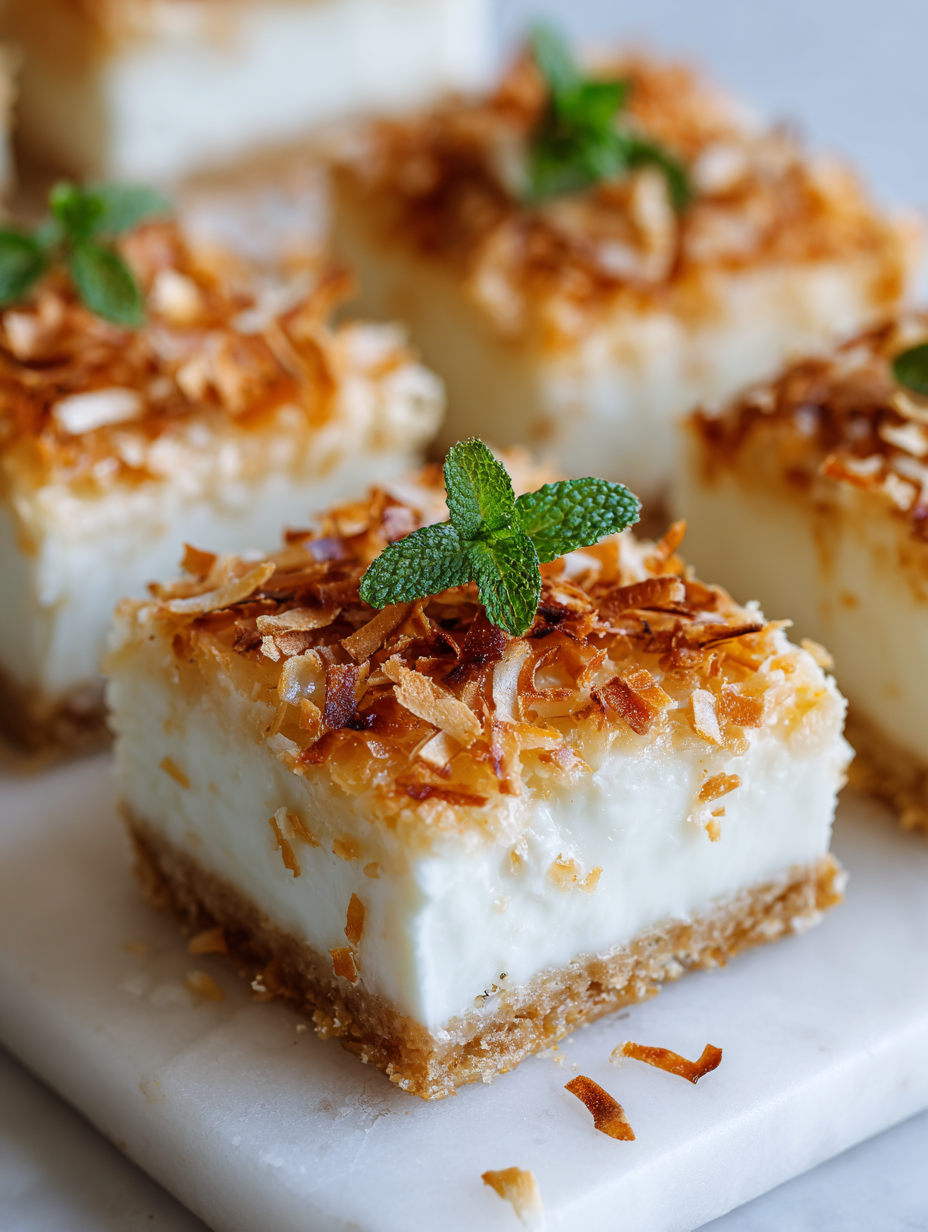
This recipe is inspired by childhood beach trips, where coconut and sunshine felt like a treat in every bite.
The story behind this recipe
- This recipe came about one rainy afternoon when I was digging through my pantry, looking for something sweet but easy. I remembered those old coconut candies I loved as a kid—simple, chewy, and packed with flavor. I figured, why not try making a no-bake version that’s just as satisfying? Turns out, pressing together a handful of ingredients can create a treat that’s both nostalgic and fresh.
- Over the years, I’ve tweaked this recipe to be more forgiving—less sugar, more coconut, a touch of sea salt to balance it out. It’s become my default when I want a quick, honest snack without the fuss of baking. Whenever I make them, I think about my grandma’s kitchen, where the best treats were often the simplest, just like these bars.
- heading: The story behind this recipe
Ingredient breakdown
- Unsweetened shredded coconut: I love the chewy, slightly smoky flavor it develops when lightly toasted—skip this step if you prefer milder coconut.
- Sweetened condensed milk: It’s the glue that holds these bars together, giving them that rich, gooey sweetness. Use coconut cream for a dairy-free vibe, but expect a slightly softer texture.
- Honey or maple syrup: Adds a natural, floral sweetness and helps bind everything. If you want a less sticky bar, cut back a bit but keep some for flavor.
- Coconut oil: It melts smoothly and gives the bars a glossy finish, plus a subtle coconut aroma—skip or substitute with butter if dairy isn’t an issue, but it’ll change the flavor profile.
- Vanilla extract: A splash boosts the coconut flavor, making everything feel more rounded. Omit if you want a more subdued, natural coconut taste.
- Pinch of sea salt: It’s the secret to balancing all that sweet richness—don’t skip it, even if you’re worried about saltiness.
- Optional add-ins (chocolate chips, dried fruit): I toss these in last for bursts of extra flavor and texture—go wild or keep it simple, your call.
Spotlight on key ingredients
Shredded Coconut:
- Unsweetened shredded coconut: I love how it toasts to a deep golden, smoky flavor—skip this step if you prefer milder coconut, but it adds depth.
- Sweetened condensed milk: It’s the glue that keeps these bars together, offering a rich, gooey sweetness that’s impossible to resist.
Coconut Oil & Vanilla:
- Coconut oil: Melts smoothly and lends a glossy sheen, plus a subtle coconut aroma—skip or swap with butter, but expect a different flavor profile.
- Vanilla extract: Adds a warm, fragrant note that enhances the coconut’s natural sweetness—don’t skip for that extra layer of flavor.
Notes for ingredient swaps
- Dairy-Free: Use coconut condensed milk or thick coconut cream instead of traditional condensed milk. It keeps that rich, gooey texture without dairy.
- Sugar-Free: Swap honey or maple syrup with agave nectar or a sugar substitute. The bars will be less sticky but still flavorful.
- Vegan: Replace honey with agave or maple syrup, and ensure your coconut oil is vegan-certified. Keeps the flavor natural and plant-based.
- Nut-Free: Omit any added nuts or nut-based ingredients. Use extra shredded coconut for texture and flavor.
- Extra Crunch: Add chopped dried fruit or toasted nuts for more texture, but keep in mind it might change the chewiness.
- Flavor Boost: Mix in a teaspoon of coconut extract or a splash of lime juice for a brighter, more tropical flavor profile.
- Texture Variation: Use desiccated coconut for a finer texture or coarsely shredded for more chew and bite.
Equipment & Tools
- 20cm square baking dish: To shape and set the bars evenly.
- Mixing bowl: Combine and stir ingredients thoroughly.
- Spatula: Press and spread the mixture into the dish.
- Parchment paper: Prevent sticking and aid in lifting out the bars.
- Sharp knife: Cut into neat bars after chilling.
Step-by-step guide to coconut bars
- Gather your equipment: a 20cm (8-inch) square baking dish, a mixing bowl, a spatula, and parchment paper for lining. Prep the dish by lining it with parchment for easy removal.
- Toast the shredded coconut: spread 2 cups on a baking sheet. Bake at 180°C (350°F) for 5-7 minutes, stirring halfway, until golden and fragrant. Let cool slightly.
- Melt the coconut oil: place 2 tbsp in a small saucepan over low heat. Once melted, remove from heat and set aside.
- Combine ingredients: in the mixing bowl, mix the toasted coconut, 1/2 cup sweetened condensed milk, 1 tbsp honey, and vanilla extract. Pour in the melted coconut oil. Stir until thoroughly combined, the mixture should be sticky and cohesive.
- Press the mixture: transfer to the prepared baking dish. Use the spatula or your hands (damp if sticky) to press firmly and evenly into the dish. The surface should be smooth and packed tight.
- Chill the bars: cover with plastic wrap or foil. Refrigerate for at least 2 hours, or until firm and set. The mixture will become less sticky and hold together better.
- Cut into bars: once chilled and firm, lift out using the parchment paper. Slice into 8-10 bars with a sharp knife. For clean edges, wipe the knife between cuts.
- Rest before serving: let the bars sit at room temperature for 10 minutes before serving to enhance flavor and texture.
- Store leftovers: keep in an airtight container in the fridge for up to a week or freeze for up to a month. Bring to room temp before enjoying for optimal softness.
Refrigerate for at least 2 hours until firm. Slice into bars, then let sit at room temperature for 10 minutes before serving to soften slightly and bring out flavor. Store in an airtight container in the fridge for up to a week.
How to Know It’s Done
- Color of toasted coconut: golden and fragrant, not dark or burnt.
- Texture of pressed mixture: firm but slightly tacky, holds shape when pressed.
- Appearance after chilling: bars should be firm, edges clean, with a glossy surface.
No Bake Coconut Bars
Ingredients
Equipment
Method
- Line your baking dish with parchment paper, leaving overhang for easy removal.
- Spread the shredded coconut evenly on a baking sheet and toast in the oven at 180°C (350°F) for 5-7 minutes, stirring halfway through until golden and fragrant. Let cool slightly.
- In a small saucepan, melt the coconut oil over low heat until just liquid and fragrant, then remove from heat.
- In a mixing bowl, combine the toasted coconut, sweetened condensed milk, honey, vanilla extract, and a pinch of sea salt. Stir vigorously until the mixture becomes sticky and evenly coated with all ingredients.
- Pour the melted coconut oil into the mixture and fold everything together until the mixture is cohesive and sticky.
- Transfer the mixture to your prepared baking dish. Use a spatula or damp hands to press it firmly and evenly into the dish, smoothing the top for a flat surface.
- Cover the dish with plastic wrap or foil and refrigerate for at least 2 hours, or until the mixture is firm and set.
- Once chilled, lift the set mixture out using the parchment overhang. Place on a cutting board and cut into 8-10 bars with a sharp knife, wiping the blade clean between cuts for neat edges.
- Allow the bars to sit at room temperature for 10 minutes to soften slightly, enhancing their chewiness and flavor.
- Enjoy your chewy, toasted coconut bars! Store leftovers in an airtight container in the fridge for up to a week or freeze for longer storage.
Tips and Tricks for Best Results
- Bolded mini-head: Use medium heat when toasting coconut to get that perfect golden hue—watch closely to avoid burnt bits.
- Bolded mini-head: Slightly dampen your hands when pressing mixture into the dish—keeps it from sticking and helps achieve an even layer.
- Bolded mini-head: For a glossy finish, lightly brush the top with extra melted coconut oil before chilling—shimmering bars look more tempting.
- Bolded mini-head: When mixing, fold ingredients gently to keep the shredded coconut from breaking down—preserves texture in every bite.
- Bolded mini-head: Chill the bars in the freezer for 30 minutes if you’re in a rush—faster set, just watch for condensation when removing.
- Bolded mini-head: To prevent sticking, line your pan with parchment paper that overhangs—makes lifting easier and cleaner.
- Bolded mini-head: If the mixture feels too sticky, dust your hands and spatula with a tiny bit of coconut flour—helps with pressing and shaping.
Common mistakes and how to fix them
- FORGOT to check coconut toasting: watch for golden color, not dark or burnt.
- DUMPED ingredients incorrectly: add one at a time, mixing thoroughly to avoid clumps.
- OVER-TORCHED coconut: remove immediately, cool slightly, and start over if burnt flavor spreads.
- MISSED chilling time: ensure bars are firm before slicing to prevent crumbling.
Quick fixes and pantry swaps
- When mixture is too sticky, splash with a little warm water to loosen it.
- If coconut isn’t toasted enough, patch with a quick sprinkle of toasted coconut on top.
- Splash a tiny bit of lemon juice if bars taste flat or dull.
- When bars crack during slicing, shield with a damp cloth and cut slowly.
- DUMPED the ingredients in wrong order? Do a quick re-mix with extra coconut for texture.
Prep, store, and reheat tips
- You can prepare the mixture a day ahead; keep it covered in the fridge to preserve freshness and prevent drying out.
- Store the chilled bars in an airtight container in the refrigerator for up to a week; the coconut maintains a chewy, moist texture.
- For longer storage, freeze the bars for up to a month, wrapped tightly in plastic wrap and then in foil. Thaw at room temperature for 10 minutes before serving.
- Refrigerated bars develop a firmer, more set texture, while bringing them to room temperature for a few minutes enhances the coconut aroma and softens the bite.
Top questions about no bake coconut bars
1. How do I know when the coconut is toasted properly?
Look for a golden, toasted color and a fragrant, nutty smell. Slightly darker edges mean perfect toasting.
2. What if the mixture is too sticky to shape?
If the mixture feels too sticky to press, dampen your hands slightly or refrigerate for 10 minutes before pressing.
3. How long should I refrigerate the bars?
Chill the bars for at least 2 hours until firm. They should be easy to slice without crumbling.
4. How should I store leftovers?
Store in an airtight container in the fridge for up to a week. For longer, freeze for up to a month.
5. Can I make these dairy-free?
Use coconut condensed milk for that rich, gooey texture. Swap with coconut cream if you want a dairy-free alternative.
6. What sweetener can I use instead of honey?
Replace honey with maple syrup or agave for a different floral note. Adjust sweetness to taste.
7. Can I add other ingredients like nuts or dried fruit?
Add chopped dried fruit or toasted nuts for extra crunch and flavor. Keep in mind it may alter the texture.
8. What type of coconut should I use?
Use shredded coconut for a chewy texture or desiccated for a finer, softer bite. Toasted coconut adds smoky flavor.
9. Why do my bars crack when cutting?
If the bars crack while slicing, use a sharp knife and gently press down. Chill longer if needed.
10. My mixture is too dry or too wet—what do I do?
When mixture is too dry, add a teaspoon of coconut oil or condensed milk. If too wet, refrigerate to firm up.
These no-bake coconut bars are the kind of treat that sneaks up on you with their chewy, toasted goodness and just the right amount of sweetness. They’re simple, honest, and perfect for whenever you need a quick fix that feels a little nostalgic. Plus, they’re so easy to customize—you’ll find yourself reaching for them long after the first bite.
Whenever I make these, I think about lazy afternoons and the smell of toasted coconut filling the kitchen. It’s a reminder that sometimes the best things are the simplest—no fuss, just good ingredients and a little bit of patience. They’re a little bit of sunshine in every bite, no matter what season it is.