
These no bake chocolate date bites started as a quick fix for my afternoon sugar cravings, but somehow they became a staple in my snack rotation. I love how the dates add a natural sweetness that feels almost indulgent, yet it’s all real food. Plus, they come together faster than I can brew my coffee in the morning.
What makes this recipe special is its simplicity—no oven, no fuss, just a handful of ingredients that pack a punch of flavor and texture. I find myself reaching for these after a long day, grateful for something that’s both satisfying and nourishing without any guilt. It’s like having a little secret stash of comfort in bite-sized form.
This recipe transforms a simple, everyday snack into a nutrient-dense, naturally sweet treat that’s perfect for busy mornings or late-night cravings, all without turning on the stove.
A Nutritious Treat on the Fly
- I love how these bites remind me of childhood treats, but with a grown-up, wholesome twist.
- There’s a quiet joy in reaching into the fridge and grabbing one of these—instant comfort.
- Every time I make them, I feel a little proud that something so simple can taste so indulgent.
- I used to think I needed fancy ingredients for a good snack, but these proved me wrong—just dates and chocolate.
- Sharing these with friends always sparks a little surprise—they’re so unassuming but utterly addictive.
The story behind this recipe
- This recipe came together one restless evening when I was craving something sweet but didn’t want to turn on the oven. I had a handful of dates and a bit of dark chocolate in the pantry, and suddenly it clicked—why not combine them into something bite-sized and effortless? The first batch was a bit rough, but once I figured out the right freezer time and texture, it became my go-to treat when I need a quick pick-me-up.
- The idea stuck because these bites remind me of childhood candy, but with a grown-up twist that feels nourishing instead of just empty calories. Every time I make them, I think about how simple ingredients can turn into something unexpectedly satisfying. It’s a reminder that good things don’t need to be complicated or fancy—sometimes, they just need to be made with a little love and a lot of patience in the freezer.
- heading
Trivia and Origins
- These bites draw inspiration from traditional Middle Eastern date sweets, which are naturally sweet and filling.
- Historically, dates have been used as energy-boosting snacks in desert cultures for thousands of years.
- The idea of combining dates and chocolate likely emerged from the 20th-century trend of healthier dessert alternatives.
Ingredient breakdown
- Medjool dates: They’re my secret weapon for natural sweetness and chewy texture, but pitting them thoroughly helps avoid surprises in the bites.
- Dark chocolate: I prefer 70% for a rich, bittersweet punch, but you can swap in milk chocolate for creaminess—just watch the melting point.
- Nut butter: Almond or peanut butter adds creaminess and depth, but a dollop of coconut oil can make the mixture silkier if you prefer a subtler nutty note.
- Cocoa powder: I use unsweetened for that intense chocolate flavor, but Dutch-processed can mellow the bitterness if you’re after a smoother taste.
- Sea salt: Just a pinch heightens the chocolate and date sweetness, but a tiny sprinkle of flaky sea salt on top is a game-changer for flavor contrast.
- Optional add-ins: Chopped nuts or dried fruit give texture and variety—think of them as little surprises in each bite, but don’t overdo it to keep the texture balanced.
Spotlight on key ingredients
Dates:
- Medjool dates: They’re my secret weapon for natural sweetness and chewy texture, but pitting them thoroughly helps avoid surprises in the bites.
- Dark chocolate: I prefer 70% for a rich, bittersweet punch, but you can swap in milk chocolate for creaminess—just watch the melting point.
- Nut butter: Almond or peanut butter adds creaminess and depth, but a dollop of coconut oil can make the mixture silkier if you prefer a subtler nutty note.
Dark chocolate:
- Its glossy, smooth melt is essential for coating, and the bittersweet flavor balances the natural sweetness of the dates.
- Cocoa powder: I use unsweetened for that intense chocolate flavor, but Dutch-processed can mellow the bitterness if you’re after a smoother taste.
Notes for ingredient swaps
- Dairy-Free: Coconut oil or coconut butter can replace butter or cream, adding a subtle coconut aroma and richer texture.
- Nut-Free: Sunflower seed or tahini paste works well, but expect a slightly different flavor profile and less creaminess.
- Vegan: Use dairy-free dark chocolate and ensure your nut butter is vegan-friendly—these swaps keep it plant-based without losing richness.
- Sweetener: Honey or maple syrup can substitute for dates if you prefer a liquid sweetener, but the texture will be less chewy and more syrupy.
- Chocolate: Bittersweet chocolate chips can replace chopped dark chocolate; they melt faster but may be sweeter and less intense.
- Add-ins: Chopped nuts or dried fruit can be swapped or omitted based on your crunch or chew preference—less texture, more focus on chocolate.
Equipment & Tools
- Food processor: To blend dates into a sticky paste.
- Small microwave-safe bowl: To melt the chocolate evenly.
- Baking sheet with parchment paper: To hold the bites as they set.
- Fork: To dip and coat the bites in chocolate.
Step-by-step guide to no bake bites
- Gather your equipment: a food processor, a small bowl for melting chocolate, a baking sheet, and parchment paper. The processor will blend the dates into a sticky paste, while the melting setup ensures smooth chocolate.
- Pit the dates thoroughly to avoid surprises in texture. Measure out about 1 cup of pitted dates, roughly chopped for easier processing.
- In the food processor, blend the dates until they form a smooth, sticky paste. This takes about 1-2 minutes; scrape down sides as needed. The mixture should be cohesive and slightly tacky.
- Melt the dark chocolate: place 100g (about 3.5 oz) of chopped chocolate in a small bowl. Microwave in 20-second bursts, stirring after each, until smooth. Alternatively, use a double boiler over low heat (~50°C/122°F).
- Combine the date paste with 2 tablespoons of nut butter (almond or peanut). Pulse a few times until well integrated. This adds creaminess and flavor.
- Add 1 tablespoon of unsweetened cocoa powder and a pinch of sea salt to the mixture. Pulse to evenly incorporate. The mixture should be dark, fragrant, and slightly oozy.
- Scoop out about 1 tablespoon of mixture, roll into a ball, then dip into the melted chocolate using a fork. Let excess drip off. Place on parchment-lined baking sheet.
- Repeat with remaining mixture, leaving space between bites. If the mixture becomes too sticky, chill in the freezer for 10 minutes to firm up.
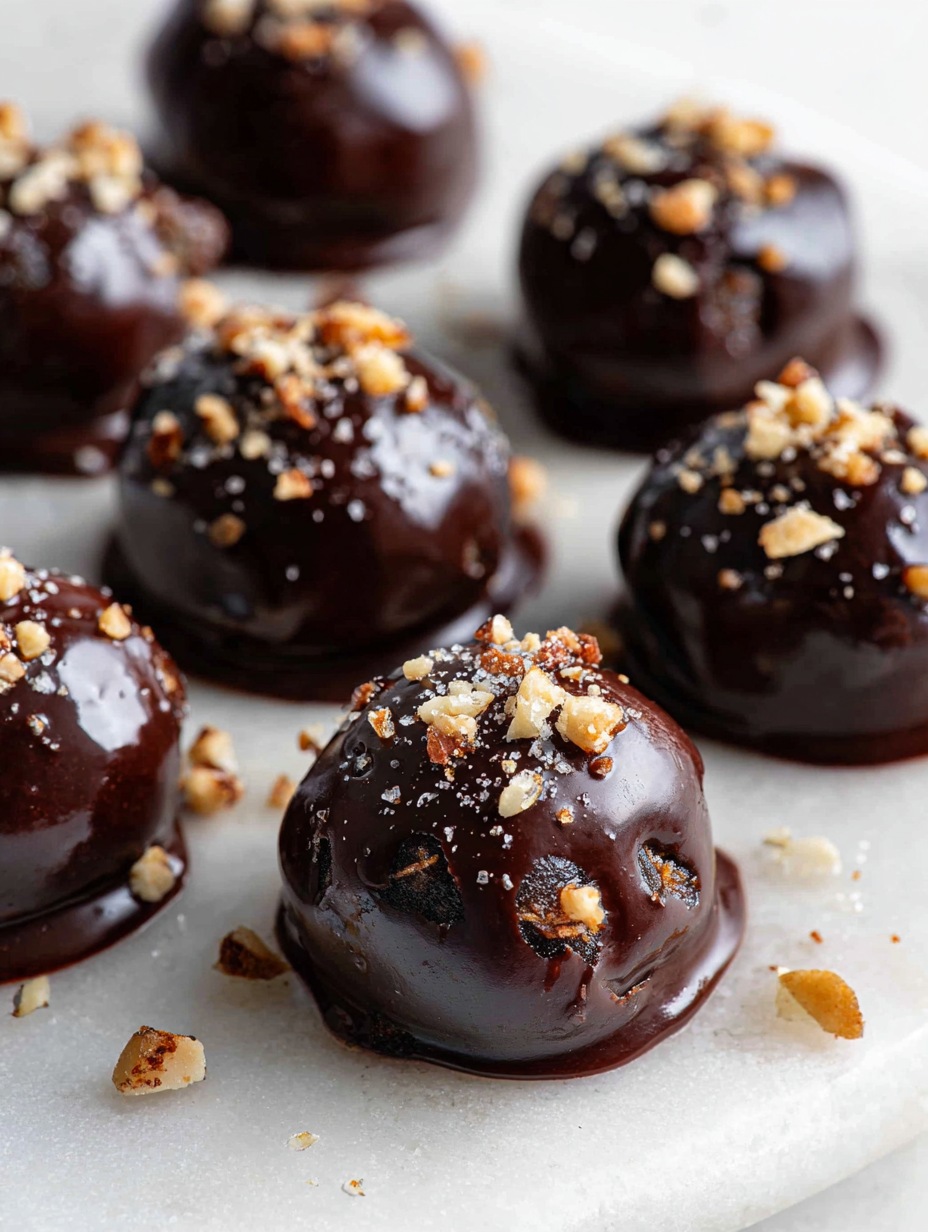
- Once all bites are coated, sprinkle lightly with flaky sea salt or chopped nuts if desired. Chill in the fridge for at least 30 minutes to set.
- Remove from fridge, serve slightly chilled or at room temperature. They should be firm, glossy, and slightly chewy with a rich chocolate aroma.
Chill the coated bites in the fridge for at least 30 minutes until firm. Serve directly from the fridge or at room temperature for a softer bite. Store in an airtight container in the fridge for up to a week.
How to Know It’s Done
- Chocolate is smooth and shiny after melting.
- Bites hold shape when rolled and dipped.
- Set in fridge with a firm, glossy exterior.
No Bake Chocolate Date Bites
Ingredients
Equipment
Method
- Place the pitted dates into your food processor and blend for 1-2 minutes until they form a sticky, smooth paste, scraping down the sides as needed. The mixture should be cohesive and slightly tacky.
- Add the nut butter, cocoa powder, and a pinch of sea salt to the date paste. Pulse a few times until everything is well combined and the mixture is dark and fragrant.
- Chop the dark chocolate into small pieces and melt it in a microwave-safe bowl in 20-second bursts, stirring after each until smooth and glossy. This will take about 1 minute total.
- Using a spoon or your hands, scoop out about 1 tablespoon of the date mixture and roll it into a firm ball. Repeat with the remaining mixture, placing the formed balls on a parchment-lined baking sheet.
- Dip each ball into the melted chocolate carefully using a fork, allowing any excess chocolate to drip off. Place the coated bites back on the parchment paper.
- If desired, sprinkle a tiny pinch of sea salt on top of each chocolate-coated bite for contrast. Chill the bites in the fridge for at least 30 minutes until the chocolate is set and glossy.
- Once set, serve the bites slightly chilled or at room temperature. They should be firm on the outside, chewy inside, with a rich chocolate aroma—a perfect quick treat.
Notes
Pro tips for perfect bites
- Chill for firmness: Freeze the mixture for 10 minutes before rolling to prevent sticking and make shaping easier.
- Pulse, don’t overmix: When blending dates and nut butter, pulse in short bursts to keep a slightly chunky texture if desired.
- Use a spatula: For folding ingredients in, a silicone spatula helps maintain the mixture’s sticky integrity without sticking to your fingers.
- Check chocolate consistency: Melt chocolate gently in short bursts; it should be glossy, smooth, and just fluid enough for dipping.
- Add a pinch of sea salt: Lightly sprinkle flaky sea salt on the finished bites to enhance chocolate and date flavors with a savory contrast.
- Work quickly: Dip the bites into chocolate while the mixture is still slightly pliable; otherwise, refrigerate briefly to re-soften.
- Store properly: Keep bites in an airtight container in the fridge for up to a week; let sit at room temp for softer bites before serving.
Common mistakes and how to fix them
- FORGOT to pit dates thoroughly → Pit all dates carefully to avoid gritty bites.
- DUMPED too much chocolate → Use just enough to coat, excess can cause drips and mess.
- OVER-TORCHED chocolate → Melt chocolate gently in short bursts, avoid burning for glossy finish.
- MISSED the chilling step → Chill bites for at least 30 minutes to set properly and prevent sticking.
Quick Fixes and Pantry Swaps
- When mixture is too sticky, splash in a little warm water to loosen it.
- If bites crackle excessively, shield with a damp cloth and melt chocolate gently.
- Dumped too much chocolate? Patch with more date mixture and refrigerate again.
- Over-torched chocolate? Rescue by stirring in a teaspoon of coconut oil for gloss.
- Splash a pinch of sea salt on top if bites lack flavor contrast; it shimmers beautifully.
Prep, store, and reheat tips
- Prepare the date and nut butter mixture ahead by blending and shaping; refrigerate in an airtight container for up to 3 days. Expect a firm, slightly sticky texture when stored properly.
- Store the finished chocolate-coated bites in the fridge for up to a week. The chocolate will stay glossy and firm, and the flavors deepen slightly overnight.
- If you need to keep them longer, freeze the bites in a sealed container for up to 1 month. Let them thaw in the fridge for about 15 minutes before serving to regain their chewy texture.
- Reheat by leaving bites at room temperature for 5–10 minutes or gently warming in the microwave for 10 seconds. Watch for melty chocolate and a fragrant, rich aroma.
Top questions about no bake bites
1. Can I use milk chocolate instead of dark?
Yes, swapping dark for milk chocolate makes it sweeter and creamier, but reduces the intensity of the cocoa flavor.
2. Can I substitute nut butters?
Absolutely, using almond or peanut butter adds richness. Sunflower seed butter works well for nut allergies.
3. Should I add salt?
Yes, you can omit the sea salt or replace it with flaky sea salt on top for added crunch and flavor contrast.
4. How long can I store these?
Refrigerate for up to a week or freeze for a month. Let frozen bites thaw for 10-15 minutes before eating.
5. My chocolate is seizing, what do I do?
If the chocolate isn’t melting smoothly, lower the heat, or microwave in short bursts, stirring carefully after each.
6. How do I keep the mixture from crumbling?
Using a food processor helps get a smooth, sticky paste. If the mixture is too crumbly, add a tiny splash of water or oil.
7. How do I know when they’re ready?
Chill the bites for at least 30 minutes to set the chocolate. They should be glossy, firm, and slightly chewy.
8. Can I add extra ingredients?
Yes, adding chopped nuts or dried fruit gives surprise textures and bursts of flavor in each bite.
9. Any tips for mixing efficiently?
Use a silicone spatula to fold ingredients gently. It prevents sticking and keeps the mixture uniform.
10. My mixture is too sticky, what now?
If the bites are too sticky to handle, chill the mixture for 10 minutes. It firms up enough to shape easily.
These no bake chocolate date bites are more than just a quick treat—they’re a little reminder that simple, real ingredients can create something unexpectedly satisfying. In a season of busy mornings and late-night cravings, they offer a nourishing moment without fuss.
Whenever I reach for one, I’m reminded of how effortless pleasure can be, especially when it’s packed with flavor and honest sweetness. They might not be fancy, but they sure feel like a small, comforting win after a long day.