
Sometimes, the simplest treats carry the deepest nostalgia. These no bake chocolate coconut cookies remind me of childhood afternoons, where the smell of melting chocolate and toasted coconut filled the kitchen, and the effort was just enough to feel cozy but not fussed over.
On busy days when time slips away faster than I’d like, these cookies come through as a quick, satisfying fix. No oven, no waiting—just melt, mix, scoop, and chill. They’re proof that comfort can be effortless and still hit all the right notes of sweetness and richness.
There’s something honest about a recipe that relies on good ingredients and a little bit of patience in the fridge. It’s a small ritual that brings a quiet moment of joy, a reminder of simpler times when treats were just about sharing a handful with someone special or sneaking one before dinner.
Focusing on how these cookies serve as a nostalgic comfort during busy, stressful days, offering quick, no-fuss indulgence that brings back childhood memories of simple treats.
Nostalgic Cookies in a Flash
- These cookies remind me of lazy Sunday afternoons, the smell of cocoa and coconut filling the air and making everything feel slower.
- Baking them is almost meditative—waiting for the chocolate to melt, hearing the crunch of toasted coconut, feeling that cool, chewy texture once chilled.
- There’s a quiet pride in whipping up these treats without turning on the oven, proving you can make something rich and satisfying with just a few pantry staples.
- Every time I make these, I’m transported back to my grandma’s kitchen, where simple ingredients created magic in a matter of minutes.
- I love how these cookies are my go-to when I need a quick sweet fix—no fuss, no mess, just pure comfort.
Inspiration Behind These Cookies
These cookies came about during a summer heatwave when turning on the oven felt unbearable. I was craving something sweet and coconutty, but all I wanted was to avoid more heat in the kitchen. A friend suggested mixing everything cold and letting it set—no baking required. That simple idea became a quick fix for a sweet craving that wouldn’t wait, and now I keep a batch in the fridge for those hectic days when baking feels like too much.
Historical & Cultural Tidbits
- These cookies originated as a quick fix during wartime rationing, using simple pantry ingredients that were readily available.
- In the 1950s, convenience foods gained popularity, and no-bake recipes like this became household staples for busy families.
- The combination of chocolate and coconut was inspired by tropical treats from the Caribbean, brought into American homes through trade and migration.
- Historically, these cookies were often made in large batches for community bake sales, serving as an easy, portable treat for gatherings.
- Some believe the early versions used sweetened condensed milk instead of the modern chocolate chips, adding extra richness and chewiness.
Key Ingredients Breakdown
- Dark chocolate: I love using high-quality dark chocolate; it melts smoothly and gives a rich, slightly bitter contrast to the sweet coconut. Swap with semi-sweet if you prefer a milder flavor.
- Coconut flakes: Toasted coconut adds a smoky, nutty aroma and a chewy texture. Fresh flakes work, but toasted really deepen the flavor and add crunch.
- Sweetened condensed milk: This makes the mixture sticky and easy to mold. For a dairy-free version, try coconut cream, but it won’t be as thick and sweet.
- Butter: I prefer salted butter for depth, but unsalted works fine if you want to control the salt level. It helps everything meld together smoothly.
- Coconut oil: Adds a subtle sheen and helps the chocolate set perfectly. Use a neutral oil, but a touch of toasted coconut oil can add a deeper aroma.
- Vanilla extract: Just a splash enhances all the flavors—don’t skip it. If you love a hint of almond, a drop of almond extract works well too.
- Optional add-ins: Chopped nuts or dried fruit can be stirred in for extra texture. Keep it balanced so the cookies stay chewy and not crunchy.
Spotlight on key ingredients
Dark chocolate:
- I love using high-quality dark chocolate; it melts smoothly and gives a rich, slightly bitter contrast to the sweet coconut. Swap with semi-sweet if you prefer a milder flavor.
- Coconut flakes: Toasted coconut adds a smoky, nutty aroma and a chewy texture. Fresh flakes work, but toasted really deepen the flavor and add crunch.
- Sweetened condensed milk: This makes the mixture sticky and easy to mold. For a dairy-free version, try coconut cream, but it won’t be as thick and sweet.
Coconut flakes:
- Toasted coconut adds a smoky, nutty aroma and a chewy texture. Fresh flakes work, but toasted really deepen the flavor and add crunch.
- Sweetened condensed milk: This makes the mixture sticky and easy to mold. For a dairy-free version, try coconut cream, but it won’t be as thick and sweet.
Notes for ingredient swaps
- Dairy-Free: Swap regular butter for coconut oil or vegan butter. It won’t have the same richness but keeps it plant-based.
- Chocolate: Use dairy-free dark chocolate or even carob chips for a different flavor profile—still melts well and still decadent.
- Coconut: Unsweetened shredded coconut can be replaced with toasted pecans or walnuts for crunch and nutty flavor.
- Sweetened Condensed Milk: Try coconut cream or sweetened cashew cream as a dairy-free alternative—less sweet, but still sticky and thick.
- Optional Add-ins: Chopped dried fruit or nuts can be added in place of coconut flakes—adds varied textures and bursts of flavor.
- Flavor Enhancer: A dash of espresso powder or a sprinkle of sea salt can elevate the chocolate and coconut combo—experiment to suit your taste.
Equipment & Tools
- Medium heatproof bowl: To melt the chocolate gently over simmering water.
- Saucepan: To create a double boiler for controlled melting.
- Baking sheet: To hold the formed cookies during setting.
- Parchment paper: To prevent sticking and for easy removal.
- Spatula: To stir and combine ingredients smoothly.
- Ice cream scoop or spoon: To portion out the mixture evenly.
Step-by-step guide to no bake cookies
- Gather equipment: a medium heatproof bowl, a saucepan, a baking sheet, and parchment paper. The bowl will melt the chocolate, the saucepan heats gently, and the sheet will hold the cookies.
- Chop 200g of dark chocolate into small pieces. Smaller pieces melt more evenly, so aim for uniform chunks.
- Set up a double boiler: fill the saucepan with an inch of water, bring to a simmer, then place the bowl on top, ensuring it doesn’t touch water.
- Add the chopped chocolate to the bowl. Stir gently with a spatula. Watch for a glossy, smooth melt, about 3-5 minutes. If it’s grainy, your heat’s too high—lower it.
- Stir in 1/2 cup of unsweetened shredded coconut and 1/2 cup of toasted coconut flakes, along with 1/4 cup of sweetened condensed milk and a teaspoon of vanilla. Mix until everything is well coated and sticky.
- Line the baking sheet with parchment paper. Using a spoon or small ice cream scoop, portion out mounds of the mixture. Flatten slightly if you like a more cookie-like shape.
- Place the tray in the fridge. Let the cookies chill for at least 2 hours, or overnight for best firmness. They need time to set and develop flavor.
- Check for doneness: the cookies should be firm around the edges but still chewy in the center. They will crack slightly when pressed.
- Once set, gently peel off the parchment. Store in an airtight container in the fridge for up to a week, or freeze for longer storage.
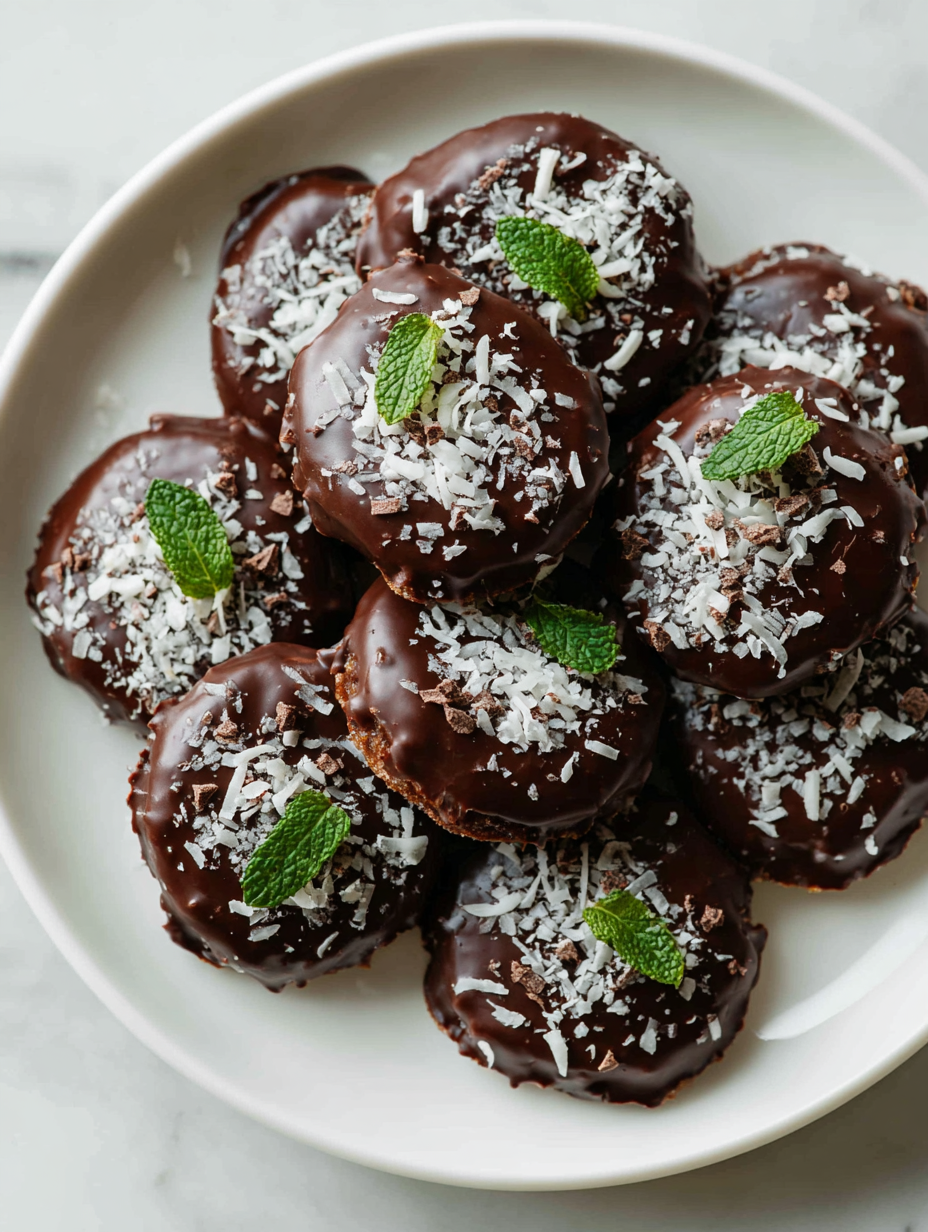
- Serve straight from the fridge for a cool, fudgy bite. They should have a shiny, crackled top and a chewy, coconut-oozy interior.
Chill the cookies in the fridge for at least 2 hours until firm. Serve straight from the fridge for best texture. Store in an airtight container to keep chewy and fresh.
How to Know It’s Done
- Chocolate is fully melted and glossy before mixing.
- Cookies hold shape and have a shiny, crackled surface after chilling.
- Texture is chewy with a slight crunch from toasted coconut.
No Bake Chocolate Coconut Cookies
Ingredients
Equipment
Method
- Chop the dark chocolate into small, uniform pieces and set aside.
- Set up a double boiler by filling a saucepan with an inch of water and bringing it to a simmer. Place the heatproof bowl on top, making sure it doesn’t touch the water.
- Add the chopped chocolate into the bowl and gently stir with a spatula as it begins to melt, watching for a glossy, smooth texture, about 3-5 minutes.
- Once melted, remove the bowl from heat and stir in the sweetened condensed milk and vanilla extract until fully combined and sticky.
- Fold in the shredded coconut and toasted coconut flakes, mixing until evenly coated and the mixture is thick and sticky.
- Line a baking sheet with parchment paper and use a spoon or small ice cream scoop to portion out mounds of the mixture onto the sheet.
- Slightly flatten each scoop with the back of the spoon for a more traditional cookie shape.
- Place the tray in the refrigerator and chill for at least 2 hours, or until the cookies are firm and crackled on top.
- Once set, peel the cookies off the parchment paper and transfer to an airtight container.
- Serve the cookies straight from the fridge for a cool, chewy treat with a shiny, crackled top and rich coconut flavor.
Notes
Pro tips for perfect cookies
- Use finely chopped chocolate for quicker, more even melting and a glossy finish.
- Toast coconut flakes until golden before mixing—this enhances aroma and adds crunch.
- Keep the heat gentle when melting chocolate—avoid direct high heat to prevent seizing.
- Chill the cookies on a cool surface or in the fridge—this helps set the shape faster and develop flavor.
- Slightly flatten the scooped cookies before chilling—they’ll hold their shape better once firm.
- To prevent sticking, keep parchment paper under the cookies during chilling and storage.
- If mixture feels too sticky, add a small spoonful of cocoa powder or coconut flakes to balance.
Common mistakes and how to fix them
- FORGOT to temper chocolate → Use gentle heat to avoid seizing or blooming.
- DUMPED in all ingredients simultaneously → Add ingredients gradually for smooth mixing.
- OVER-TORCHED or burned chocolate → Remove from heat immediately if it starts to smell burnt.
- MISSED chilling time → Let cookies set fully for firm, glossy, crackled tops.
Quick fixes and pantry swaps
- When chocolate seizes, splash in a teaspoon of vegetable oil to restore smoothness.
- If mixture is too dry, add a tiny bit of coconut oil or condensed milk for better binding.
- Over-chilled cookies crack excessively—let them sit at room temperature for 5 minutes before serving.
- Dumped in all ingredients at once? Fix by gently folding to avoid clumping or uneven texture.
- When coconut burns during toasting, immediately transfer to a bowl to stop cooking and cool quickly.
Prep, store, and reheat tips
- Prepare the cookie mixture ahead by melting the chocolate and mixing all ingredients. Keep it covered in the fridge for up to 24 hours, which helps deepen the coconut and chocolate flavors.
- Store the finished cookies in an airtight container in the fridge for up to a week. The cool environment keeps them chewy and fresh, with the chocolate maintaining its glossy shine.
- Refrigerated cookies should be taken out about 10 minutes before serving to soften slightly and enhance the rich, fudgy texture. Feel free to let them warm just enough to release a faint cocoa aroma.
- If you want to freeze the cookies, layer them with parchment paper in an airtight container. Freeze for up to 3 months. Thaw in the fridge or at room temperature for a soft, chewy bite, with the coconut still slightly toasted.
Top questions about no bake cookies
1. Can I melt the chocolate in the microwave?
You can melt chocolate in a microwave using 20-second bursts, stirring in between, until smooth and glossy.
2. Can I melt the chocolate in the microwave?
Yes, but keep a close eye to prevent burning. Use short bursts and stir frequently for even melting.
3. My mixture is too sticky or dry, what now?
If the cookies seem too sticky, chill the mixture for 15 minutes before scooping. If too dry, add a splash of condensed milk.
4. How long should I chill the cookies?
Chill the cookies for at least 2 hours so they set properly. They should crackle on top and feel firm when pressed.
5. How do I shape the cookies?
Use a spoon or small ice cream scoop for even portions. Flatten slightly for a more traditional cookie shape.
6. How should I store the cookies?
Store in an airtight container in the fridge for up to a week. They stay chewy and maintain their shine.
7. Can I freeze these cookies?
Yes, these cookies can be frozen for up to 3 months. Thaw in the fridge or at room temperature for best texture.
8. What kind of chocolate should I use?
Use high-quality dark chocolate for a richer flavor and smoother melt. Semi-sweet works as a milder alternative.
9. Should I toast the coconut flakes?
Toasted coconut flakes add smoky aroma and crunch. Lightly toast in a dry skillet until golden before mixing.
10. What if my melted chocolate seizes?
If the chocolate seizes, add a teaspoon of vegetable oil and stir until smooth again.
These cookies are a quick, honest treat—no fuss, just good ingredients and a little patience in the fridge. They remind me of childhood summers and simple joys, especially when I need something sweet fast.
In a world that’s often too busy for elaborate baking, these no bake cookies give me a moment of calm and comfort. They’re an imperfect, satisfying little ritual that keeps my sweet tooth happy without turning on the oven.