
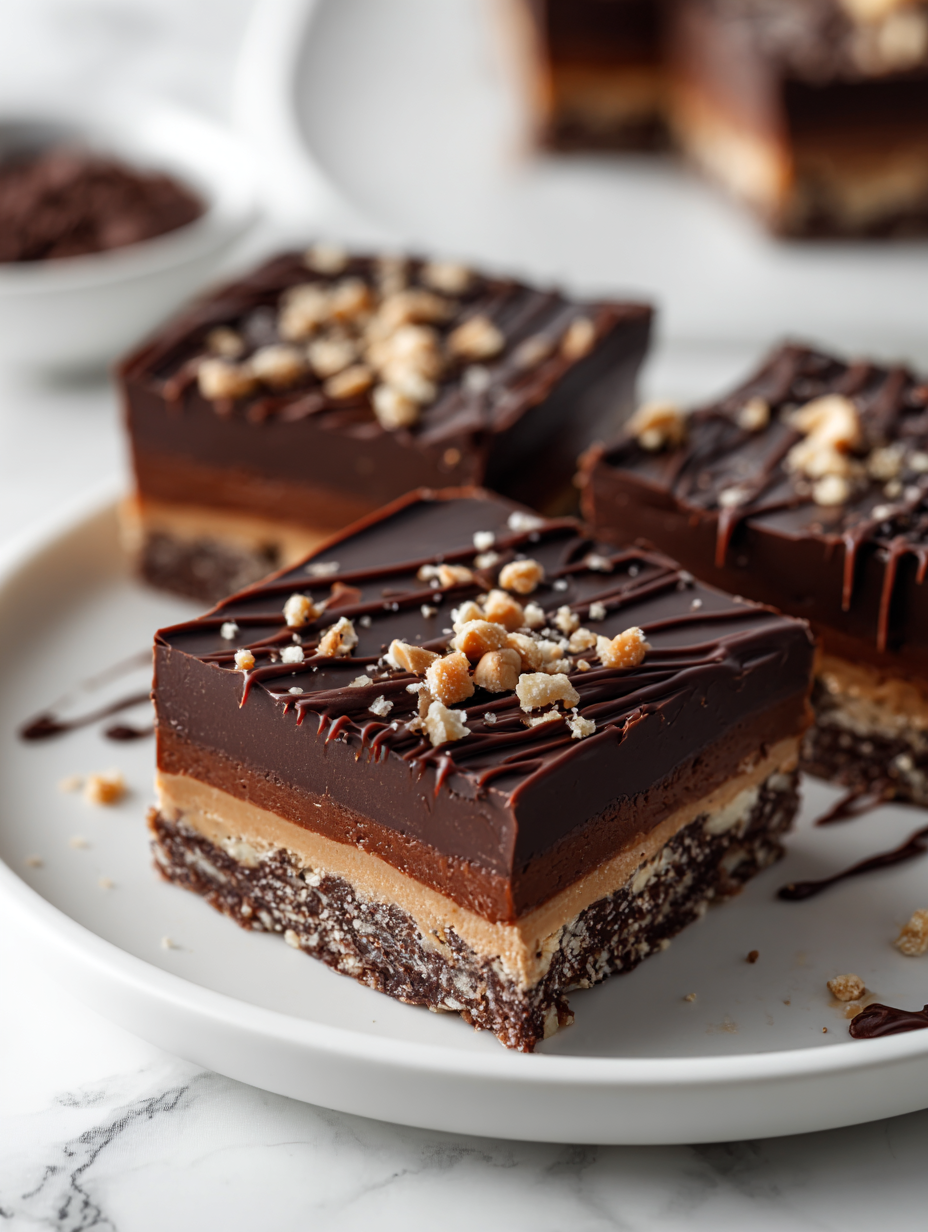
Sometimes, the best treats are the simplest ones. These no bake chocolate bars are that kind of magic—rich, chewy, with a glossy chocolate top that shimmers in the light. No oven, no complicated steps, just a handful of ingredients tossed together in the chaos of everyday life, then set aside to chill.
Growing up, I’d sneak into the kitchen late at night, craving something sweet and fudgy. These bars remind me of those quiet moments—messy, sticky, full of anticipation. Making them now feels like a small act of reclaiming that childhood joy, but with a grown-up twist of dark cocoa and crunchy toppings.
This recipe is inspired by childhood nostalgia but with a modern, minimalist twist—no oven, no fuss, just pure chocolatey comfort in a quick, no-bake form. It’s about capturing that messy, joyful moment of spooning thick, gooey chocolate into your mouth without any of the usual baking chaos.
The story behind this recipe
- This recipe started as a lazy weekend experiment, trying to make something sweet without turning on the oven. I was tired of complicated desserts that took forever, so I looked for a way to keep it simple and still satisfy that chocolate craving.
- One afternoon, I remembered how my grandmother used to keep a stash of homemade chocolate bars in the freezer, quick to grab when the sweet tooth hit hard. That memory pushed me to refine a no-bake version that’s easy to customize and perfect for those moments when you want something sweet but don’t want to fuss.
- heading”:
Ingredient breakdown: key components
- Unsalted butter: I love how it melts into the chocolate, creating that glossy, smooth texture. If you want a richer flavor, go for European-style butter.
- Dark chocolate: The key to that intense, slightly bitter bite. Opt for 70% cocoa or higher for a more complex flavor; sweeter chocolates will make it overly milky.
- Sweetened condensed milk: It’s what makes the bars sticky and gooey. If you prefer less sweetness, try reducing the amount slightly, but don’t skip it—it’s essential for the texture.
- Crushed cookies or graham crackers: They add crunch and nostalgia. For a healthier twist, use toasted oats or nuts, but keep in mind they’ll change the bite.
- Sea salt flakes: Just a pinch enhances the chocolate’s richness. If you don’t have flaky salt, coarse sea salt works too, but don’t oversalt—just a subtle shimmer.
- Optional toppings (nuts, dried fruit): I love sprinkling chopped almonds or cranberries on top. They add a fresh, chewy contrast that keeps each bite interesting.
- Vanilla extract: A splash deepens the chocolate flavor. If you’re out, a tiny drop of almond or coffee extract can add a subtle twist.
Spotlight on key ingredients
Dark chocolate:
- I love how it melts smoothly and develops a rich, slightly bitter aroma. During melting, it turns glossy and thick, which signals it’s ready.
- When cooled, it hardens into a snap that’s satisfying. If it’s dull or greasy, the heat was too high or it cooled too quickly—adjust heat and stirring.
Sweetened condensed milk:
- It’s sticky and gooey, with a sweet, milky aroma. During mixing, it creates a shiny, fudge-like texture that’s irresistibly smooth.
- If the mixture becomes grainy or starts to seize, it means it was overheated or stirred too vigorously—keep the heat gentle and stir slowly.
Notes for ingredient swaps
- Dairy-Free: Swap butter with coconut oil or coconut butter for a dairy-free version. Expect a slightly coconutty flavor and softer texture.
- Vegan Chocolate: Use plant-based dark chocolate and coconut condensed milk. The bars will be just as rich but with a different depth of cocoa flavor.
- Sweetener Swap: Substitute condensed milk with honey or maple syrup for a different sweetness profile. It will slightly alter the chewiness and gloss.
- Crunch Variations: Replace cookies with toasted oats or chopped nuts for more texture. Keep in mind this might change the overall chewiness and flavor.
- Salt Types: Use flaky sea salt as recommended, or coarse regular salt. The flaky salt adds a shimmer and subtle burst of flavor; coarser salt is more pronounced.
- Add-ins: Mix in dried fruits, seeds, or coconut flakes. These will introduce new textures and bursts of flavor, making each bar unique.
- Chocolate Type: Try different cocoa percentages or milk chocolates for varied sweetness and creaminess. Higher cocoa content gives a richer, less sweet bar.
Equipment & Tools
- Baking dish: Holds the mixture and shapes the bars.
- Microwave-safe bowl: Melts chocolate and butter evenly.
- Spatula: Stirs and spreads the mixture smoothly.
- Parchment paper: Prevents sticking and makes removal easier.
- Sharp knife: Cuts the set bars cleanly.
Step-by-step guide to no bake bars
- Gather your equipment: a 20cm (8-inch) square baking dish, a heatproof spatula, a microwave-safe bowl, and parchment paper. Line the dish with parchment for easy removal.
- Chop 200g dark chocolate into small pieces. This helps it melt evenly and quickly, reducing the risk of burning.
- In a microwave-safe bowl, melt 100g unsalted butter and chocolate together. Microwave in 30-second bursts, stirring after each, until smooth and glossy. This takes about 1-2 minutes total.
- Add 1 cup sweetened condensed milk to the melted chocolate mixture. Stir well until fully incorporated, creating a thick, fudgy batter.
- Crumble in 1 cup crushed graham crackers or cookies for crunch. Mix thoroughly, ensuring each piece is coated with chocolate.
- Pour the mixture into your prepared dish. Use a spatula to spread it evenly, pressing down lightly to compact.
- Optional: sprinkle sea salt flakes or chopped nuts on top for contrast. Press them in gently so they stick.
- Refrigerate uncovered for at least 3 hours, or until firm. For quicker setting, 1 hour in the freezer works, but don’t forget to check for firmness.
- Once set, lift the block out using the edges of the parchment paper. Cut into bars or squares with a sharp knife.
- Finish by placing the bars on a plate or tray. Keep refrigerated until ready to serve.
Refrigerate uncovered for at least 3 hours or until firm. Slice into bars with a sharp knife and serve chilled. Keep leftovers in an airtight container in the fridge for up to a week.
How to Know It’s Done
- Chocolate mixture is glossy and smooth after melting.
- Mixture is firm and holds shape when pressed in the dish.
- Bars snap cleanly when cut and no sticky residue remains.
No Bake Chocolate Bars
Ingredients
Equipment
Method
- Line your baking dish with parchment paper for easy removal later. Set aside.
- Place the chopped dark chocolate and butter into a microwave-safe bowl. Microwave in 30-second bursts, stirring after each, until the mixture is smooth, glossy, and fully melted. The aroma of rich chocolate and butter will fill the kitchen.
- Stir in the sweetened condensed milk and vanilla extract until the mixture is thick, smooth, and shiny, with a luxurious fudgy texture.
- Add the crushed cookies or graham crackers to the chocolate mixture. Fold gently with a spatula until evenly coated, creating a sticky, textured batter with crunchy bits.
- Pour the mixture into your prepared dish. Use the spatula to spread it evenly across the dish, pressing down lightly to ensure it’s compacted and smooth on top. The surface will look shiny and slightly textured from the cookie pieces.
- Sprinkle a pinch of flaky sea salt flakes and chopped nuts or dried fruit on top, pressing them gently into the surface to help them stick and add extra flavor and crunch.
- Refrigerate the dish uncovered for at least 3 hours, or until the mixture is firm and set. For faster results, place it in the freezer for about 1 hour, but don’t forget to check for firmness.
- Once set, lift the block out of the dish using the parchment paper edges. Place on a cutting board and cut into bars or squares with a sharp knife, wiping the blade clean between cuts for neat edges.
- Arrange the bars on a serving plate and enjoy immediately, or keep refrigerated in an airtight container. The glossy top and chewy interior make these treats irresistible at any time.
Tips for Perfect No Bake Bars
- Use high-quality chocolate for a richer flavor and smoother melt.
- Warm the mixture gently—avoid overheating to prevent seizing.
- Chill the bars in the fridge for at least 3 hours for a firm set.
- Sprinkle flaky sea salt on top before chilling to enhance flavor.
- Use a sharp knife to cut clean, even bars after refrigerating.
- For extra shine, briefly warm the knife blade before slicing.
- Store bars in an airtight container in the fridge to keep them fresh.
Common mistakes and how to fix them
- FORGOT to adjust heat → Burnt chocolate; fix by lowering microwave power and stirring frequently.
- DUMPED in all ingredients at once → Clumpy mixture; add slowly and stir constantly for smoothness.
- OVER-TORCHED the chocolate → Bitter flavor; melt in short bursts, stir often, and stop at glossy consistency.
- MISSED to chill long enough → Soft bars; refrigerate at least 3 hours, or freeze 1 hour for quick setting.
Quick fixes and pantry swaps
- When mixture is grainy → Splash in a bit of warm milk to loosen it.
- If bars are too soft → Patch with a quick chill in the freezer for 5 minutes.
- DUMPED in ingredients out of order → Stir vigorously over low heat to smooth it out.
- Over-torched chocolate → Shield with a spoonful of coconut oil and gently re-melt.
- When mixture won’t set → Rescue with a quick 10-minute freeze, then check firmness.
Prep, store, and reheat tips
- Chill the prepared mixture in the fridge for at least 2 hours before pouring into the dish; it firms up and makes spreading easier, with a rich, chocolatey aroma filling the kitchen.
- Bars can be stored in an airtight container in the fridge for up to a week, maintaining that glossy finish and fudgy texture, with the aroma lingering sweetly.
- For longer storage, freeze the bars wrapped tightly in plastic wrap and stored in a freezer-safe bag; they stay good for up to 3 months, with the chocolate solid and satisfying to bite into.
- Reheat slices briefly in the microwave at 15-second intervals if you prefer softer, warmer bars. Expect a warm, melty aroma, but avoid overheating to prevent melting the chocolate completely.
- Allow frozen or chilled bars to come to room temperature for 10–15 minutes before serving to enhance flavor and achieve a slightly softer bite, with the chocolate aroma intensifying.
Top questions about no bake chocolate bars
1. Can I make these bars vegan?
Yes, using dairy-free chocolate and coconut condensed milk makes a vegan version that’s just as rich and fudgy, but expect a slightly different cocoa aroma and a softer bite.
2. Are dairy-free options possible?
Absolutely, swap out regular butter for coconut oil or vegan margarine. The texture stays smooth but may lose a bit of that buttery aroma.
3. What if my chocolate mixture seizes?
If your mixture looks grainy or seizes, gently reheat it over low heat or in short microwave bursts, stirring constantly until glossy again.
4. How do I get clean cuts?
Use a sharp, warm knife to cut the bars after chilling—this prevents sticking and gives you clean edges with a shiny finish.
5. What if the bars are too soft?
If you forget to chill the bars long enough, they might be too soft to cut cleanly. Just pop them back in the fridge for an extra hour.
6. Can I add toppings or extras?
For a crunchier texture, try adding chopped nuts or toasted oats on top before chilling. It adds a nice contrast to the smooth chocolate.
7. How long do these bars keep?
Refrigerate the bars in an airtight container for up to a week. For longer storage, freeze wrapped bars for up to 3 months, then thaw slightly before serving.
8. How do I reheat or soften the bars?
To soften chilled bars, microwave for 10–15 seconds. Expect a warm, melty chocolate aroma that intensifies as it warms.
9. My mixture is too thick or crumbly, what now?
When your mixture is too thick or crumbly, add a splash of warm milk or a little coconut oil to loosen it up and restore creaminess.
10. My chocolate looks dull or bitter, what do I do?
If you notice a bitter flavor or dull appearance, your chocolate might be overcooked. Re-melt with a little coconut oil, stirring gently to smooth it out.
These no bake chocolate bars are a reminder that sometimes, simplicity is the best kind of indulgence. They come together quickly, and the rich aroma of melting chocolate fills the room, making the wait almost worth it.
Whenever I make these, I think about the chaos of a busy day melting away as I slice into that glossy, fudge-like perfection. They’re a small, sweet pause—an unpolished, honest treat that feels like a cozy secret shared in the kitchen.