
Burgers are more than just fast food; they’re a canvas for flavor and technique. I’ve always loved how a simple patty can transform with the right heat and seasoning, revealing a smoky richness that’s hard to beat. This recipe reminds me that the best burgers aren’t about tricks—they’re about respecting the ingredients and cooking them carefully.
Cooking burgers on the grill or skillet is a ritual that calls for attention and a little patience. It’s the kind of meal that feels both casual and special, perfect for weekends or whenever you crave honest, hearty comfort food. There’s a satisfaction in getting it just right—crusty on the outside, juicy inside, with that satisfying crackle of the sear.
Why I Keep Returning to This Burger
It’s simple but satisfying, with flavors that remind me of summer cookouts. The perfect crust and juicy interior make every bite memorable. It’s a comfort that’s easy to customize, always rewarding. That smoky aroma, the crackle of the sear—these moments keep pulling me back.
Breaking Down the Burger Components
- Ground Beef: Look for 80/20 for juiciness, fresh and not too lean.
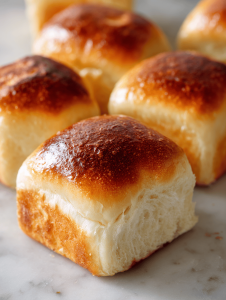
- Burger Buns: Soft but sturdy buns that toast well, like brioche or potato rolls.
- Cheese: Cheddar or American, melts smoothly, adds savory richness.
- Toppings: Lettuce, tomato, pickles—crisp, fresh, and bright.
- Seasonings: Salt and pepper are king; a pinch of smoked paprika adds depth.
- Oil: A little vegetable or canola oil for the grill or skillet, to prevent sticking.
Tools of the Trade
- Grill or Cast-Iron Skillet: Provides the high, even heat needed for a proper sear.
- Meat Thermometer: Ensures the burger reaches a safe and perfect doneness.
- Spatula: Helps flip the patties without breaking them.
- Bowl: Mix and hold ingredients, or to rest the cooked burger.
- Toothpick or Skewer: Test the doneness or hold toppings in place.
Mastering the Art of the Perfect Burger: Step-by-Step
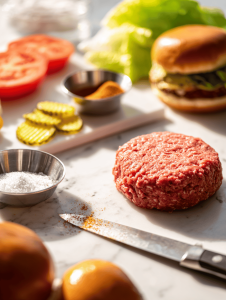
Step 1: Gather your ingredients: ground beef, burger buns, cheese, toppings, and seasonings.
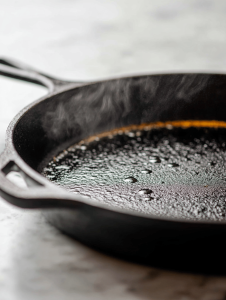
Step 2: Preheat your grill or cast-iron skillet to medium-high heat, about 200°C (390°F).
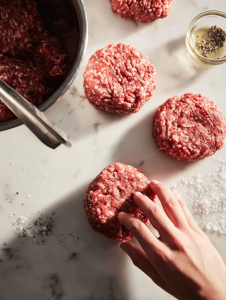
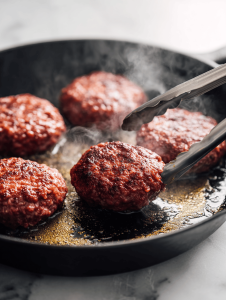
Step 3: Form the beef into patties, about ¾ inch thick, making a small indent in the center.
Step 4: Season both sides generously with salt and pepper. Place the patties on the hot grill or skillet.
Step 5: Cook for about 3-4 minutes per side for medium, or until they develop a deep, caramelized crust.
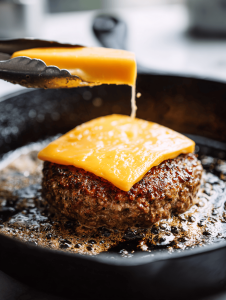
Step 6: Add cheese during the last minute, cover briefly to melt.
Step 7: Toast buns lightly on the grill, about 30 seconds, until golden.
Step 8: Assemble burgers with toppings, then serve immediately.
Keep an Eye on These Burger-Building Moments
- The crust should be deep golden and slightly charred, not burnt.
- Juices should run clear when you press the center of the patty.
- Cheese melts smoothly without sliding off—cover the last minute.
- Buns are toasted lightly and hold together when you bite.
Avoid These Burger-Building Blunders
- Flat patties puff up in the center.? Make a small indent in the center of the patty before cooking.
- Juices escape and the crust softens.? Don’t press down on the burger while cooking.
- Burger sticks or burns.? Use a clean, hot grill or skillet.
- Cheese doesn’t melt properly.? Add cheese in the last minute.
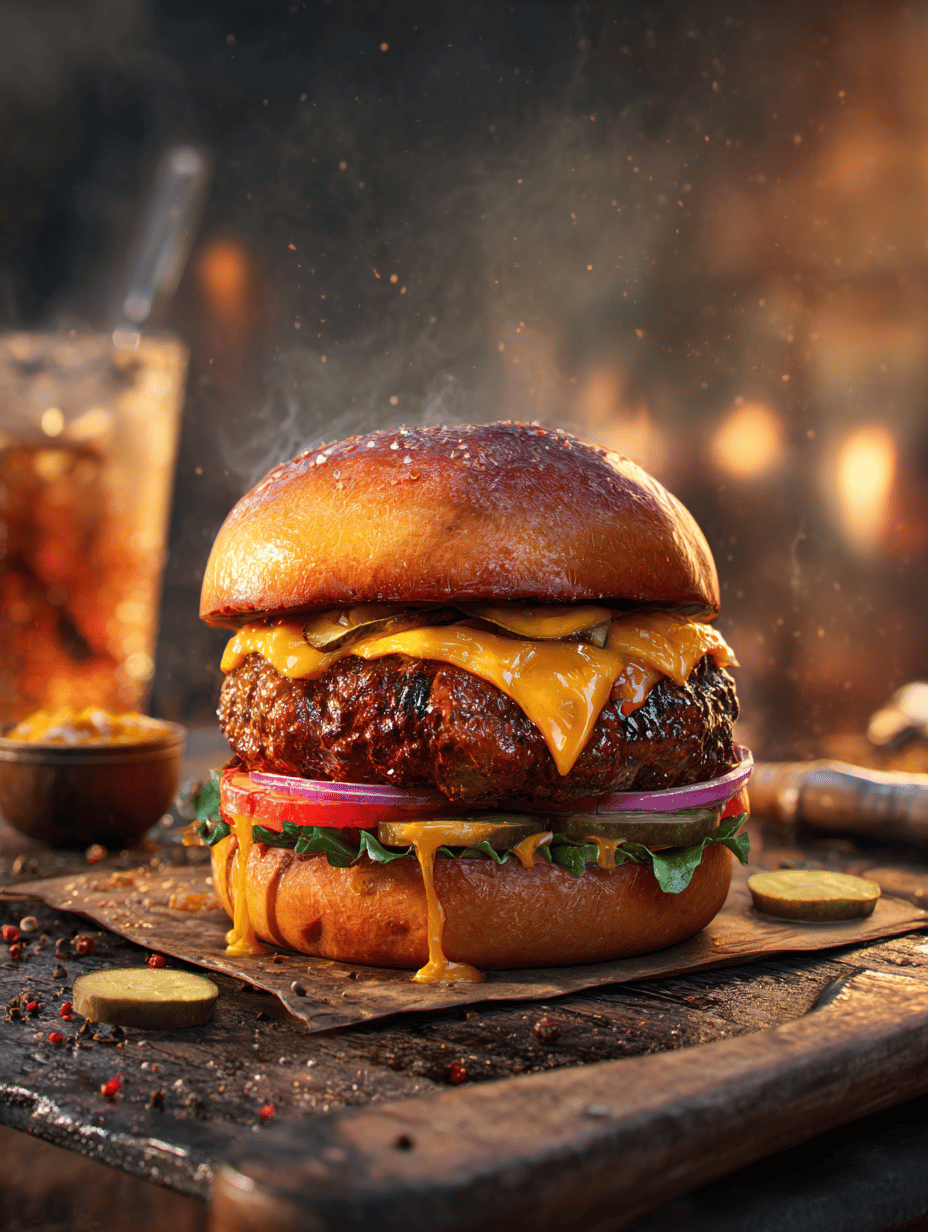
Classic Juicy Burgers
Ingredients
Equipment
Method
- Gather all your ingredients: fresh ground beef, buns, cheese, and toppings.
- Preheat your grill or cast-iron skillet over medium-high heat until it’s hot and slightly shimmering, with a faint smoky aroma in the air.
- Divide the beef into four equal portions and gently shape each into a ¾ inch thick patty, making a small indentation in the center of each to prevent puffing during cooking.
- Season both sides of each patty generously with salt, black pepper, and a pinch of smoked paprika for added depth.

- Place the patties on the hot grill or skillet, listening for a satisfying sizzle as they make contact.
- Cook for about 3-4 minutes on one side until the crust is deep golden and slightly charred, then flip carefully with a spatula.
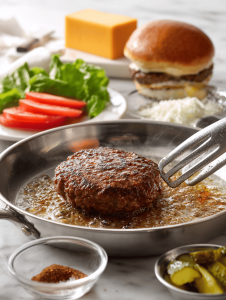
- Cook the second side for another 3-4 minutes, until the juices run clear when pressed and the crust is well-developed.
- During the last minute of cooking, place a slice of cheese on each patty, then cover briefly to melt into a smooth, gooey layer.
- While the burgers cook, lightly toast the buns on the grill or skillet for about 30 seconds until golden and slightly crispy.
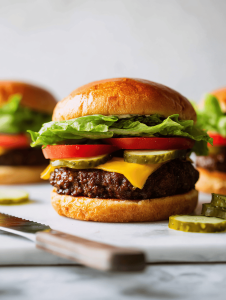
- Assemble the burgers by placing a lettuce leaf and tomato slice on the bottom bun, followed by the cheesy patty, pickles, and then the top bun.

- Serve immediately while hot, with the crackle of the crust and juicy interior making each bite satisfying.