
Sometimes, you just need a sweet fix that doesn’t require turning on the oven or waiting around for baked goods to cool. These no-bake chocolate oat bars are my go-to when I want something rich, chewy, and a little bit messy—without the fuss. They come together fast, using pantry staples, and hit that perfect balance of chocolatey comfort and hearty oats.
What I love most is the simplicity—no fancy ingredients, no long waits. It’s a recipe that feels honest and unpolished, like a quick note scribbled down in the chaos of a busy day. Whether it’s a last-minute snack or a lazy weekend treat, these bars always deliver a satisfying crunch and a deep chocolate flavor that feels indulgent but straightforward.
This recipe is inspired by my late-night craving for something sweet and satisfying, but I needed it quick and no-fuss. It’s about that moment when you realize you don’t want to turn on the oven, yet still want a rich, textured treat that feels homemade but doesn’t demand hours in the kitchen. It’s a practical, honest answer to those hectic evenings and lazy weekends alike.
The story behind this recipe
- This recipe came together one hectic afternoon when I needed a quick sweet fix that wouldn’t demand turning on the oven or waiting forever. I was rummaging through the pantry, craving something rich and satisfying, but simple enough to throw together in minutes. It’s become my go-to, especially when I want to satisfy a craving without the fuss or mess.
- I remember the first time I made these bars—my kids devoured them in minutes and I was surprised how something so straightforward could taste so indulgent. Over the years, they’ve become a staple for quick snacks, lazy afternoons, and even as a last-minute gift for friends. It’s honest, practical, and always hits the spot when I need a little sweetness fast.
- heading: The story behind this recipe
Ingredient breakdown: key components
- Old-fashioned oats: I love their chewy texture and nutty flavor, which add heartiness. If you prefer a softer bite, try quick oats, but they’ll be less chewy.
- Dark chocolate: I opt for 70% cocoa for that deep, bittersweet richness. You can swap in milk chocolate if you want it sweeter, but it’ll melt faster and be less intense.
- Butter: I use salted butter for a balanced flavor, but unsalted works fine—just adjust the salt in your recipe. It melts into the mixture, giving a glossy finish and smooth texture.
- Sweetener: I stick with honey or maple syrup for a natural sweetness that also adds a subtle aroma. For a neutral option, agave syrup works well, but it’s a bit more viscous.
- Vanilla extract: I find a splash enhances the overall depth, making everything taste more rounded. Skip if you want a more straightforward chocolate flavor, but it’s worth the boost.
- Optional add-ins: I sometimes toss in a handful of nuts or dried fruit for texture and contrast. Use whatever you have in the pantry—just keep the ratio balanced so bars stay firm.
- Salt: Just a pinch heightens the chocolate and oats, making everything pop. If you’re salt-sensitive, cut back slightly or omit, but don’t skip it entirely.
Spotlight on key ingredients
Oats and Dark Chocolate:
- Old-fashioned oats: I love their chewy texture and nutty flavor, which add heartiness. If you prefer a softer bite, try quick oats, but they’ll be less chewy.
- Dark chocolate: I opt for 70% cocoa for that deep, bittersweet richness. You can swap in milk chocolate if you want it sweeter, but it’ll melt faster and be less intense.
Notes for ingredient swaps
- Dairy-Free: Swap butter for coconut oil or vegan margarine. Expect a slightly coconutty aroma and a softer set.
- Sweetener: Use brown rice syrup or agave instead of honey or maple. They bring different sweetness profiles—less floral, more neutral or caramel notes.
- Chocolate: Substitute dark chocolate with dairy-free or 70% cacao for less sweetness or a different cocoa intensity. White chocolate will make bars sweeter and creamier.
- Oats: Gluten-free oats are a good swap if you need to keep it gluten-free. They behave the same but ensure no cross-contamination.
- Add-ins: Nuts or dried fruit can be optional. Use seeds or mini chocolate chips if you want more texture or flavor variation.
- Salt: Sea salt flakes give a spark of saltiness. Regular table salt works fine, just use slightly less to avoid over-salting.
- Flavor enhancers: A splash of espresso or a pinch of cinnamon can deepen chocolate flavor. Add them sparingly for subtle complexity.
Equipment & Tools
- 20×20 cm (8×8 inch) baking dish: Holds the mixture and helps shape the bars.
- Saucepan: Melts the butter and chocolate gently.
- Spatula: Stirs and spreads the mixture evenly.
- Mixing bowl: Combines oats and other dry ingredients.
- Parchment paper: Prevents sticking and makes removal easy.
- Sharp serrated knife: Cuts clean, even bars.
Step-by-step guide to no-bake bars
- Equipment ready: line a 20×20 cm (8×8 inch) baking dish with parchment paper, a saucepan, a spatula, and a mixing bowl.
- Melt butter and chocolate: in a saucepan over low heat (about 50°C/122°F), stir until smooth and glossy. Keep an eye to prevent burning; if the mixture seizes or burns, start over with fresh butter and chocolate.
- Combine dry ingredients: in the mixing bowl, toss the oats and a pinch of salt. For added texture, toast the oats lightly in a dry pan for 2 minutes until fragrant, then cool before mixing.
- Mix wet and dry: pour the melted chocolate and butter into the oats. Add honey or maple syrup and vanilla. Stir until everything is evenly coated and sticky. The mixture should be thick and clump together when pressed.
- Transfer to pan: scrape the mixture into your prepared dish. Use the back of a spatula or the bottom of a glass to press firmly and evenly into the dish, about 1.5 inches thick. Ensure a flat, compact surface.
- Chill and set: place in the fridge for at least 2 hours, or until firm. The mixture will firm up and become chewy. If you’re in a rush, freeze for 30 minutes, but avoid overfreezing to prevent cracking.
- Cut into bars: once set, lift out using the parchment paper and cut into squares or rectangles. For clean edges, use a sharp serrated knife, wiping it clean between cuts.
- Finish and serve: for a polished look, dust lightly with cocoa powder or sea salt flakes. These bars are best enjoyed slightly chilled for that firm, chewy bite and rich chocolate flavor.
Cover with plastic wrap and rest in the fridge for at least 2 hours until firm. Once set, lift out the parchment, cut into bars, then serve immediately or store in an airtight container.
How to Know It’s Done
- Chocolate mixture is glossy and smooth after melting.
- Mixture holds together firmly when pressed in the pan.
- Bars are firm and slightly shiny after chilling, with a deep chocolate aroma.
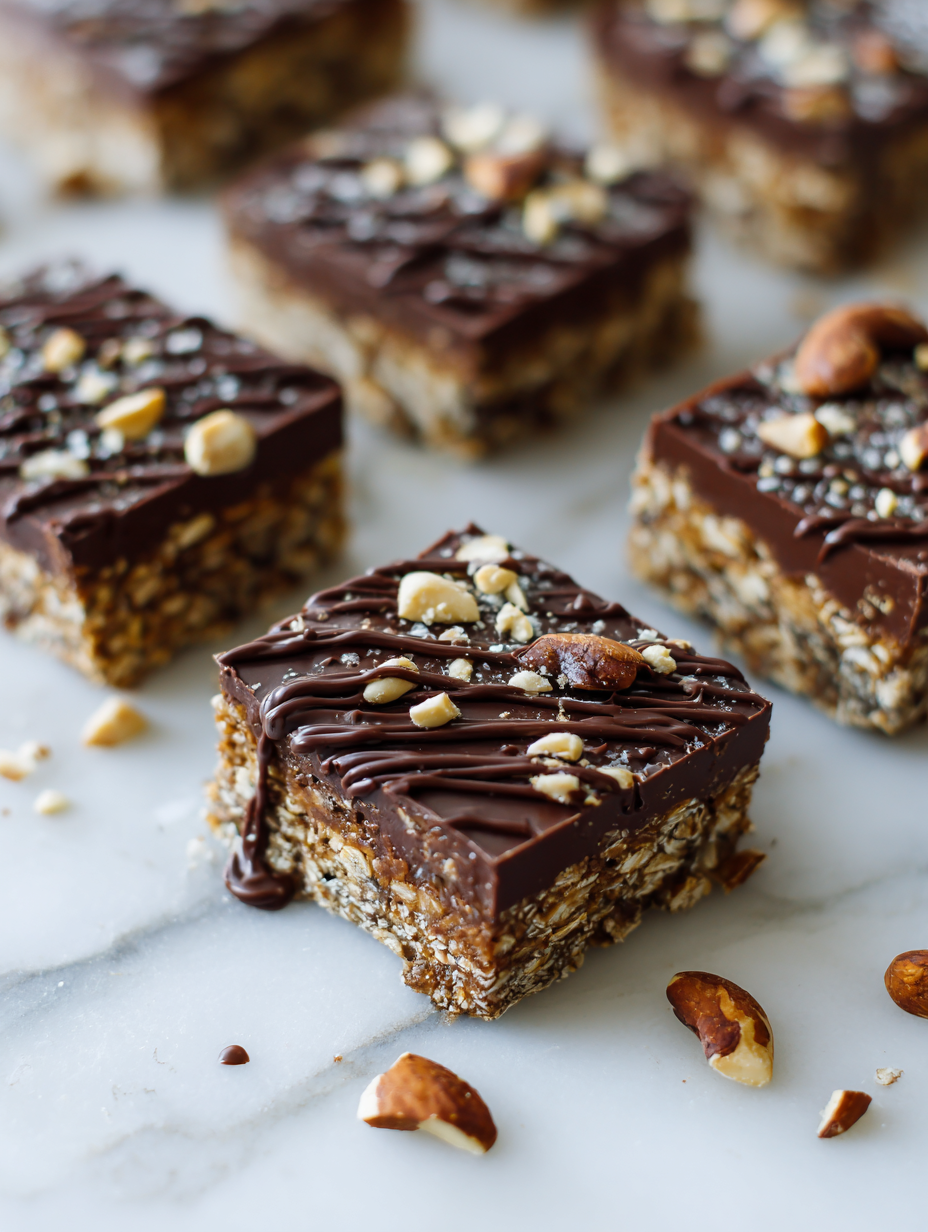
No-Bake Chocolate Oat Bars
Ingredients
Equipment
Method
- Line your baking dish with parchment paper, leaving some overhang for easy lifting.
- In a saucepan over low heat, melt the butter and dark chocolate together, stirring gently until smooth and glossy, filling your kitchen with a rich, chocolatey aroma.
- Remove the saucepan from heat and stir in honey or maple syrup, along with vanilla extract, until well combined and the mixture feels smooth and slightly thickened.
- In a large mixing bowl, toss the oats and a pinch of salt together, ensuring they’re evenly distributed.
- Pour the melted chocolate mixture over the oats and stir vigorously with a spatula until everything is thoroughly coated and sticky, with a glossy sheen.
- Transfer the mixture into your prepared dish, pressing it down firmly with the back of a spatula or a glass to create an even, compact layer about 1.5 inches thick.
- Place the dish in the fridge and chill for at least 2 hours, or until the mixture is firm and shiny, with a chewy, dense texture.
- Once set, lift the bars out of the dish using the parchment overhang and transfer to a cutting board.
- Use a sharp serrated knife to cut into even squares or rectangles, wiping the knife clean between cuts for neat edges.
- For a polished look, sprinkle lightly with sea salt flakes or dust with cocoa powder, then serve immediately or store in an airtight container in the fridge.
Tips for perfect no-bake bars
- Bolded mini-head: Use high-quality chocolate for a richer flavor and smoother melt. Cheaper options can taste dull and grainy.
- Bolded mini-head: Slightly warm the honey or maple syrup before mixing—it helps everything combine more evenly and spreads flavor.
- Bolded mini-head: Press the mixture firmly into the pan with the back of a spatula or glass to avoid air pockets and ensure clean cuts.
- Bolded mini-head: Chill the bars in the fridge for at least 2 hours; this helps them set properly and makes slicing cleaner.
- Bolded mini-head: Use a sharp serrated knife, wiping clean between cuts, to get crisp, even edges without squashing the bars.
- Bolded mini-head: For a glossy finish, briefly run the spatula over the surface after pressing, smoothing out any uneven spots.
- Bolded mini-head: If the mixture feels too soft, pop it in the freezer for 10-15 minutes before cutting to prevent crumbling.
Common mistakes and how to fix them
- FORGOT to measure ingredients precisely? Use a scale for accuracy.
- DUMPED in too much salt? Reduce salt next time or rinse oats before mixing.
- OVER-TORCHED the chocolate? Lower heat and stir constantly to prevent burning.
- MISSED the chilling step? Always refrigerate until bars are firm and shiny.
Quick fixes and pantry swaps
- When mixture feels too soft, splash in a little more melted chocolate to firm it up.
- If bars crack during cutting, patch with a tiny dab of melted chocolate on the edges.
- Splash a pinch of sea salt on top for shimmer and flavor contrast if surface looks dull.
- Rescue over-melted chocolate by adding a spoonful of cocoa powder for richness and thickening.
- Pan sticking? Patch with a damp cloth and gently lift the edges, then line with fresh parchment.
Prep, store, and reheat tips
- Prepare the mixture in advance: melt chocolate and butter, then combine with oats and sweetener. Keeps well in the fridge for up to 24 hours, making assembly quick when needed.
- Store the assembled bars in an airtight container: refrigerate for up to 1 week. The chocolate flavor intensifies slightly, and the bars stay chewy with a firm bite.
- Freeze for longer storage: wrap individually or in a layer of foil then place in a freezer-safe bag. They’ll stay good for up to 3 months. Thaw in the fridge or at room temp until soft enough to cut.
- Reheating isn’t necessary, but if you prefer softer bars, microwave a bar for 10-15 seconds until just warm and shiny, then enjoy the melty chocolate and chewy oats.
Top questions about no bake bars
1. Can I use quick oats instead of old-fashioned oats?
Use old-fashioned oats for the best chewy texture; quick oats can be softer but still work.
2. Can I substitute dark chocolate with milk or white chocolate?
Yes, you can swap dark chocolate for milk or white chocolate, which will be sweeter and creamier.
3. How long do no bake chocolate oat bars last?
Store these bars in the fridge for up to a week, wrapped tightly to keep them fresh and chewy.
4. How long should I chill the bars?
Chill the mixture in the fridge for at least 2 hours until firm, or freeze for 30 minutes to speed up.
5. Can I skip lining the pan with parchment paper?
Use parchment paper to line your dish, making it easier to lift out and cut cleanly.
6. What if the mixture is too soft to cut?
If the mixture is too soft, pop it in the freezer for 10-15 minutes before cutting.
7. Can I add other ingredients like nuts or dried fruit?
You can add nuts, dried fruit, or seeds to customize the texture and flavor of your bars.
8. How do I get clean cuts without crumbling?
Use a sharp serrated knife and wipe it clean between cuts for neat, even bars.
9. What should I do if the chocolate burns while melting?
If the chocolate seizes or burns, start over with fresh butter and chocolate, stirring constantly over low heat.
10. How can I enhance the chocolate flavor in these bars?
To intensify chocolate flavor, add a pinch of sea salt or a splash of espresso during mixing.
These no-bake chocolate oat bars are my go-to for those evenings when I need something sweet but don’t want to turn on the oven. They’re honest, simple, and satisfy that craving with a deep chocolate flavor and chewy texture that feels just right. Plus, they come together so fast, I barely get a chance to regret the extra slice.
In a world where things often feel hurried and complicated, these bars remind me that a little effort and a handful of pantry staples can create something genuinely comforting. They’re perfect for last-minute snacks, lazy afternoons, or when I want to stash a sweet treat in the freezer. Honestly, I keep a batch in the fridge just to have a quick fix whenever the mood strikes.